


The Best Interactive Sales Presentation Software to Close More Deals


Holding an audience's attention is one of the toughest parts of presenting.
Research from UC Irvine professor Gloria Mark found that the average time people focus on a single screen has dropped from about 2.5 minutes two decades ago to roughly 47 seconds today. Slides go by, eyes drift to phones, and you’ve lost the audience.
Making your presentation interactive can help fix that. When people click, engage and explore instead of just watching, they’ll most likely stay attentive and remember more of what you shared.
It’s the same approach behind the immersive, interactive experiences brands use to hold attention online, and it works just as well in a meeting, a pitch or a training session.
This guide covers what makes a presentation actually interactive, 16 ways to build that in using hotspots, animation and more, plus a step-by-step guide for putting one together in Visme.
A presentation becomes interactive when the audience can interact with the slides rather than just watch them. That action can be a click, a tap, a poll response, a hover, or a scan that changes what shows up next.
Most decks have one or two of these already. The goal is to add the ones that fit your content and how your audience will experience it: live in a room, on a call or on their own time.
Not sure which ones belong in your deck? Start with the elements below.
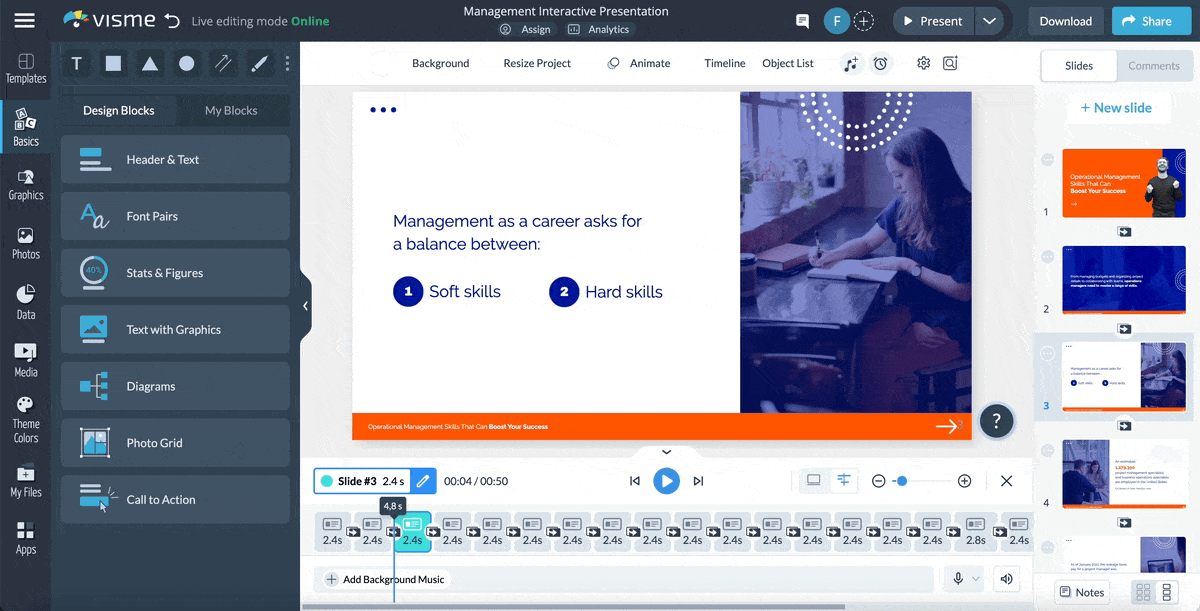
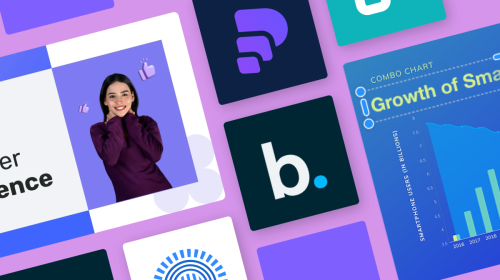
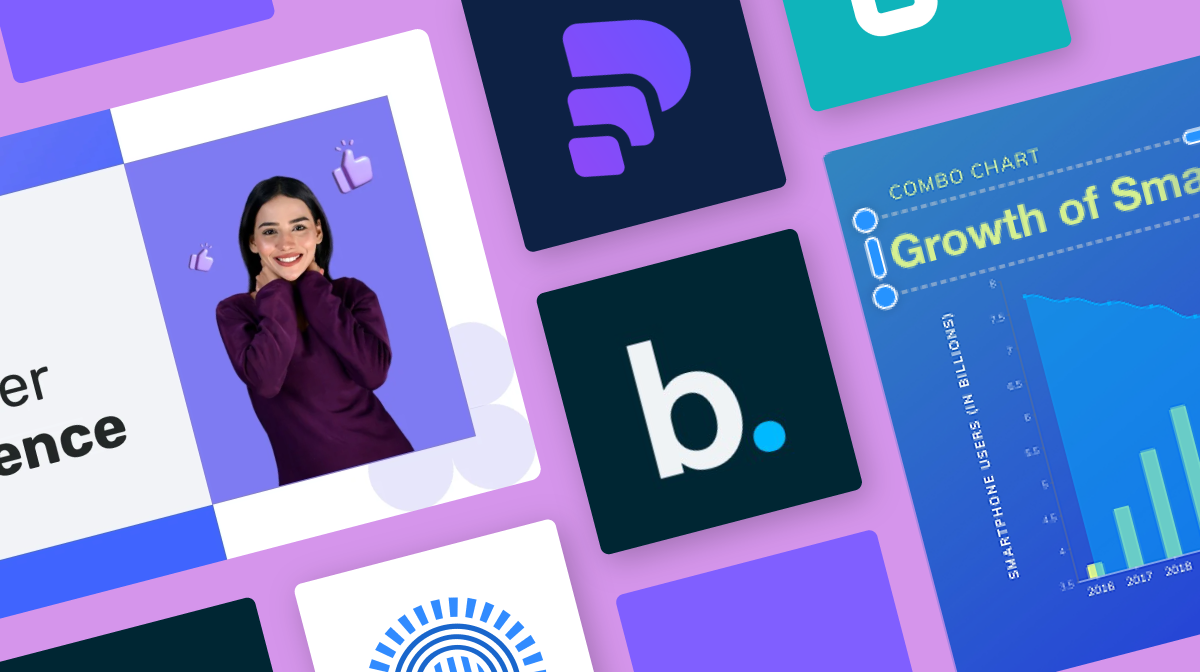
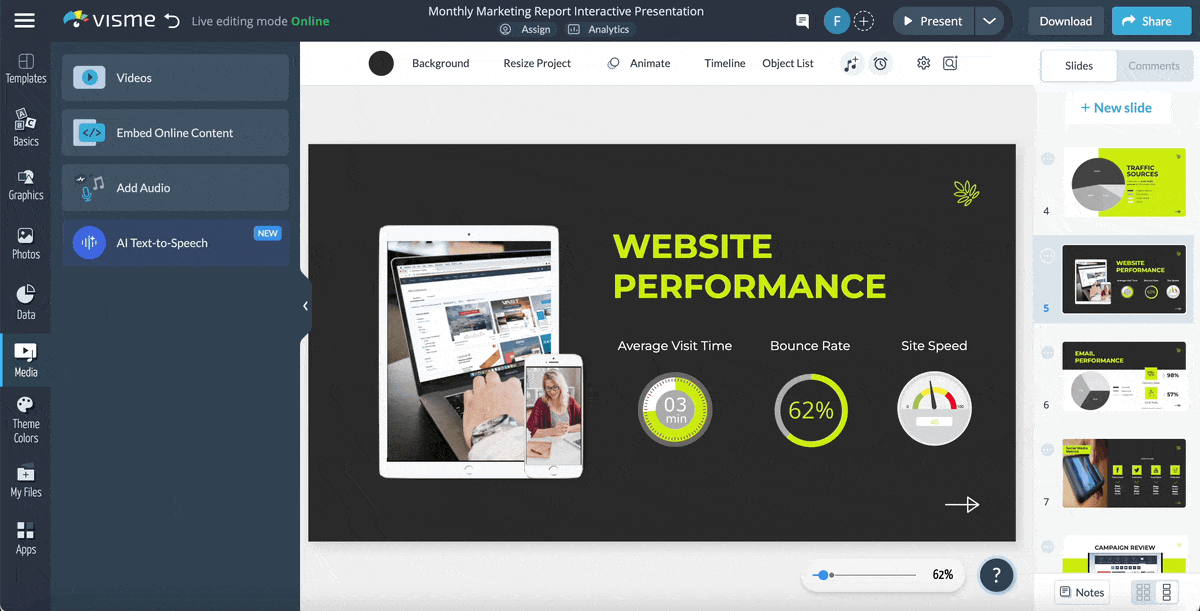
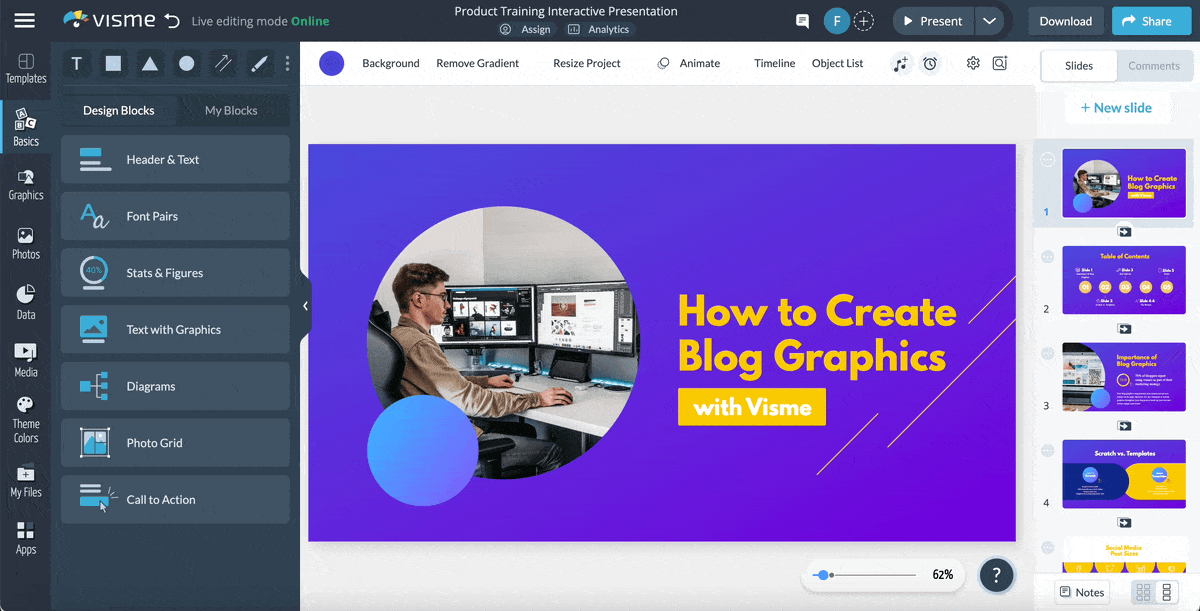
Here’s an example of an interactive presentation created with Visme
Made with Visme Presentation Maker
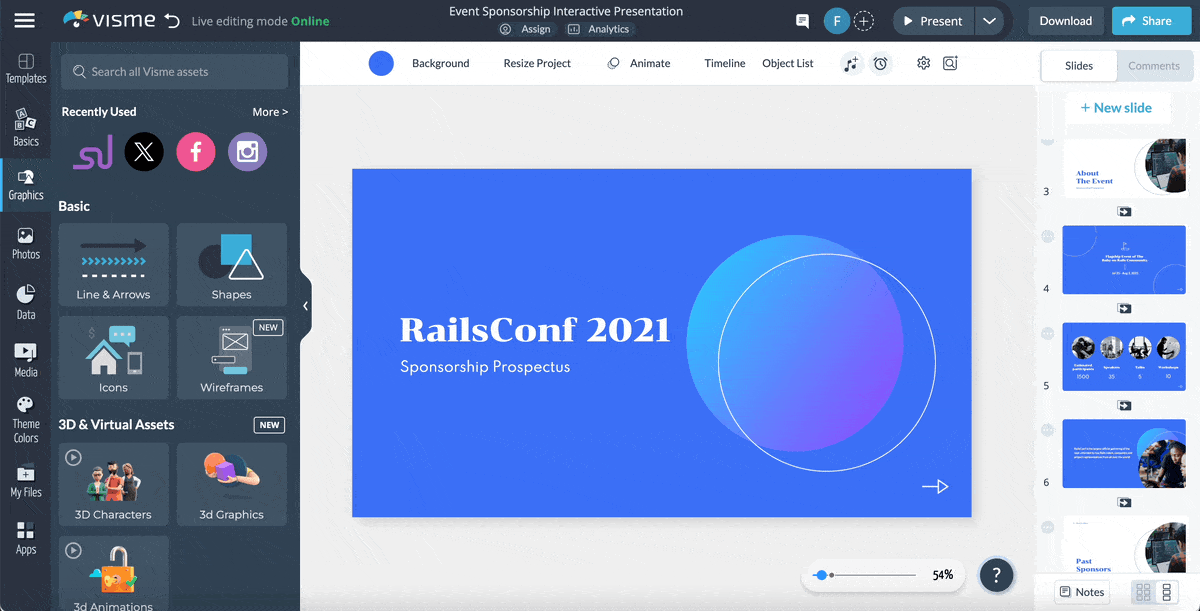
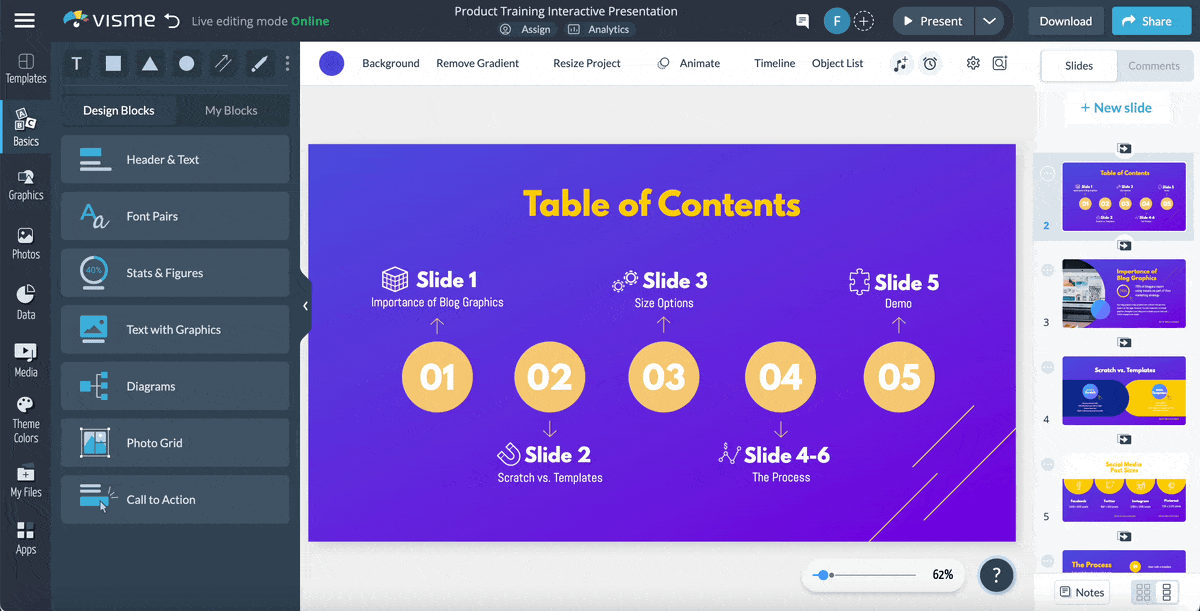
Below is another example. You can actually engage with various elements of the slides and see interactivity in full effect!
Made with Visme

Regardless of whether you’re delivering a physical or virtual presentation, there are lots of ways to infuse interactive content into your presentation. Some are best suited for one delivery style, while some work for both.
Now, check out these 16 interactive presentation ideas to wow your audience and leave a lasting impression.
If you're more of a visual learner, here’s the video version:
Pop-ups and hover effects let you hide supporting details behind an icon, shape or image. That way, one slide can carry considerable depth without crowding the layout. The audience pulls up the extra information only when they want it, which keeps the main view nice and tidy.
All presentations made with Visme and shared through a live link have a flipbook effect as the default viewing setting. It provides a page-turn feel that suits digital reports and proposals that clients read on their own time and on any device.

We all love a good story, especially when it's visually appealing.
A short animated explainer video walks the audience through a product, workflow or concept that would take several dense slides to cover in text. Motion holds attention in a way that text and static slides rarely do.
You don't need a production team for it. Visme’s online video maker, ready-made explainer video templates, stock video, animated elements and timeline editor will help you create valuable video clips in just a few minutes.
Here's an explainer video template you can customize and insert in your presentation.
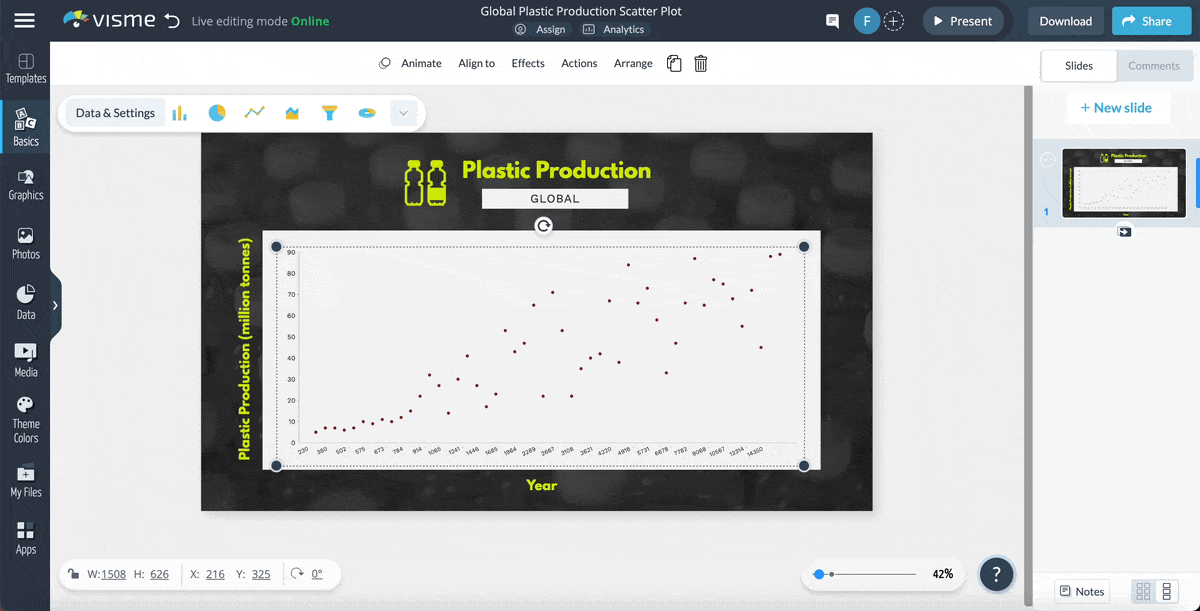
Make your quarterly reviews, board updates, and pitch decks more memorable by helping your data tell a visual story.
Use interactive data visualization and data storytelling techniques to create a narrative that the audience can follow. Let them hover over data points that interest them to see the detailed info and add an animation that pinpoints important information.
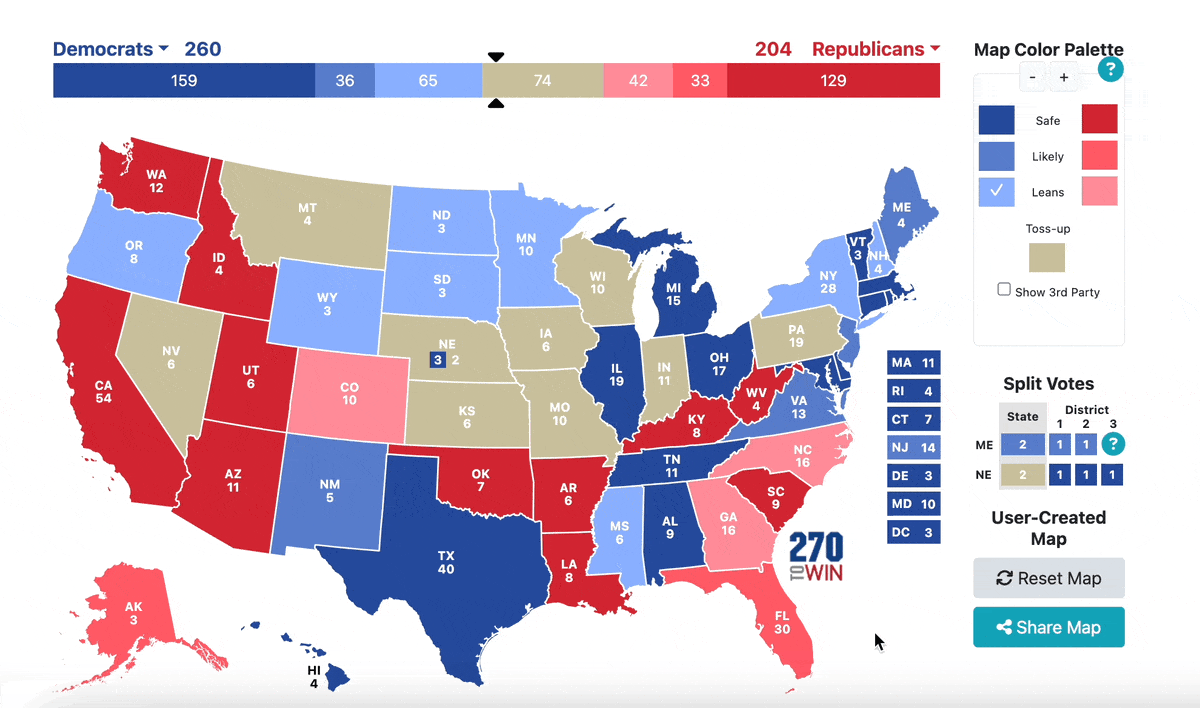
In this example below, check out how 270toWin makes the intricate US presidential election process come alive with an interactive and educational experience!
You can also try using any of our 30+ data widgets and charts and graphs, like progress bars, radial gauges, and bubble charts for small data sets.
Combine them with text and captions for context, so viewers understand what the numbers mean at a glance. And for a dense stat slide, turn it into an interactive infographic instead.
Additionally, Visme comes with 3D data widgets, charts and graphs to help you add an extra layer of interactivity to the data visualizations.
Customize these data visualization tools to craft compelling narratives and make your data relatable and memorable.


A voiceover turns any deck you send out into one that explains itself. This matters because you don’t always get to present in person. An interactive presentation with a recorded video serves as an asynchronous narrator, conveying each point while the audience reviews the slide.
Additionally, some presenters also play a recorded voiceover or audio track during a live talk. This works well for a legal disclaimer, a translated section, or a prerecorded clip that explains something in a specific way.
Light background audio can also set the tone for a recorded video presentation and help keep people’s attention on your slides.

Visme allows you to add voiceovers, songs, background music, and any soundtrack to your presentation. You can either use your device's microphone to record the voiceover or upload your own recording or soundtrack and add it.
Read this article to learn more about creating a narrated presentation with voiceovers. Or watch the video below to learn more about recording an audio voice over in Visme.
Use animated text effects to reveal one point at a time on your slide. It will help keep the audience reading at your pace instead of skimming to the bottom of the slide while you're still on the first line.
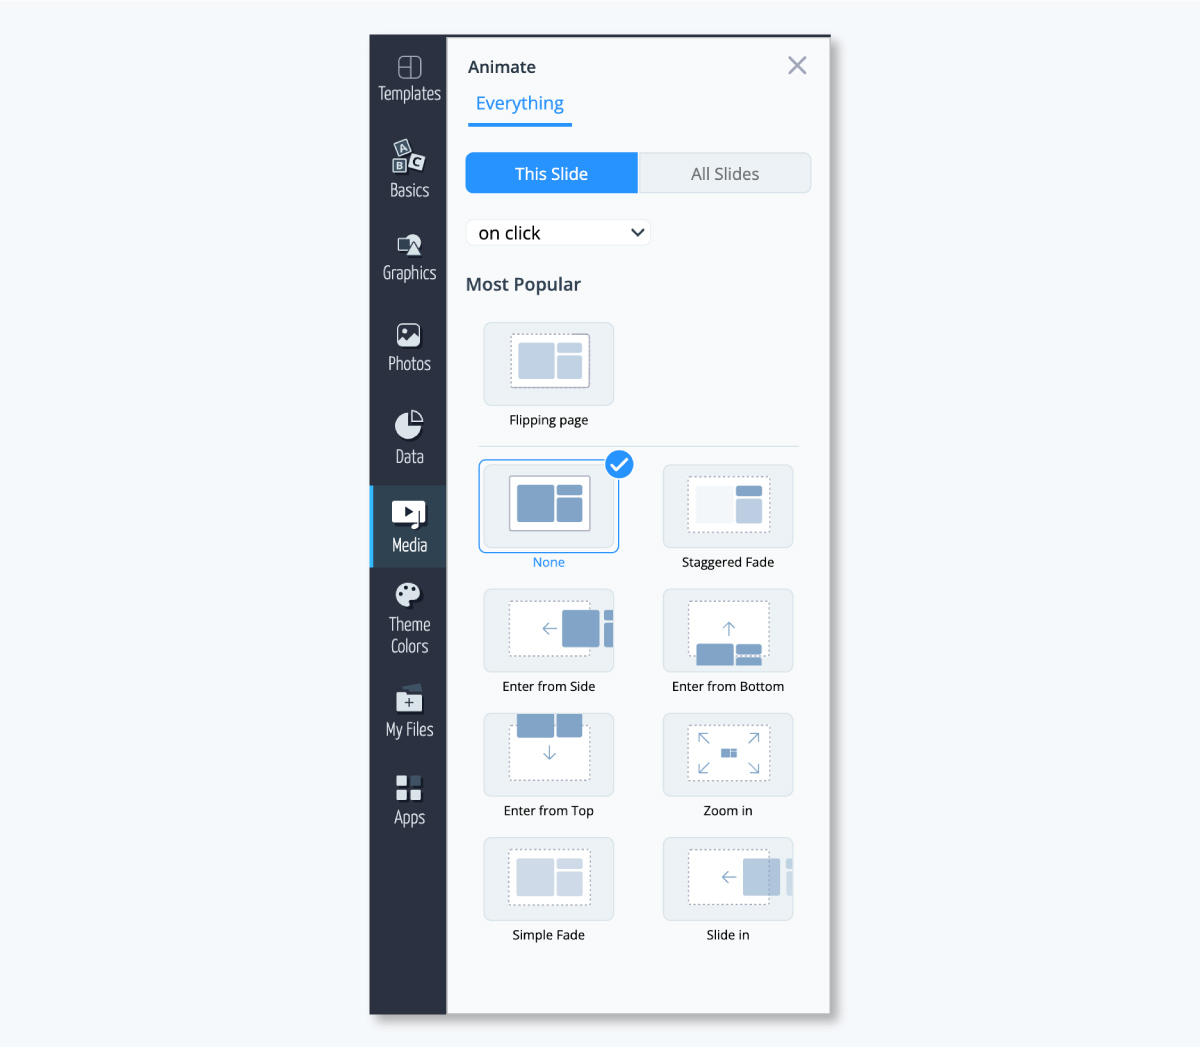
Additionally, slide transitions act as visual punctuation, marking the move from one idea to the next and giving people a beat to absorb what they just saw. Used with restraint, they aid comprehension rather than decorate.
With Visme, you can choose from various slide transitions like "flipping page," "enter from side," "simple fade" and more. Additionally, you can choose when the slide should move to the next one, based on a specific time, a click, after a video or a transition delay.
Explore our tutorial article on how to add transitions to your presentation slides to learn more.
Breaking a long talk into segments and pausing for questions will turn a monologue into a conversation, and it does double duty: the questions you get tell you which sections landed and which need another pass.
Ask people to jot down questions in the chat as you go. Remember to have someone else monitor and answer those questions so you stay focused on presenting.
Alternatively, embed a Visme Form at the end of the presentation to ask the viewers their opinions or to collect questions and requests.
Motion on an icon or a custom 3D character directs the eye to that part of the slide and adds a bit of personality to content that could otherwise be missed.
You can easily customize a character's look to match your brand or audience, same as all the animated icons, illustrations, gestures and 3D graphics. Use these elements to guide attention, not as constant background movement.
Creating an animated presentation is easy; here’s a video that shows you how:
Instead of a static row of dates, a clickable timeline lets viewers open details at each point and move at their own pace. They’re ideal for project milestones, product roadmaps, and company history.
The shift from just reading to clicking through the timeline is what makes the story stick. Start from one of these timeline presentation templates and customize it to match your content, layout and brand.

It's a powerful tool for storytelling and engagement, making history lessons, project milestones or future forecasts more compelling.
Check out this article to explore 11 timeline presentation templates and use them in your presentation.
A location-heavy slide will become far more engaging with an interactive map that viewers can click through to explore regions. Hovering over a data point will surface a figure or note, so the map answers the "why here" as well as the "where."
Once you know which regions matter to your story, build the map with the map maker and map templates. It works well for market expansion plans, office locations, and sales territory reviews.

Visme's interactive map maker allows you to customize regions and markers. You can adjust colors, add tooltips and display data values for clarity. This helps to illustrate various information effectively, turning static data into a visual experience that encourages engagement and deeper understanding.
Below is an example of an interactive map created with Visme.
Did you hover over each state to see the different numbers and statistics? Do you see how powerful that is? Users are much less likely to scroll past interactive content. They want to stick around and play with it for a bit first.
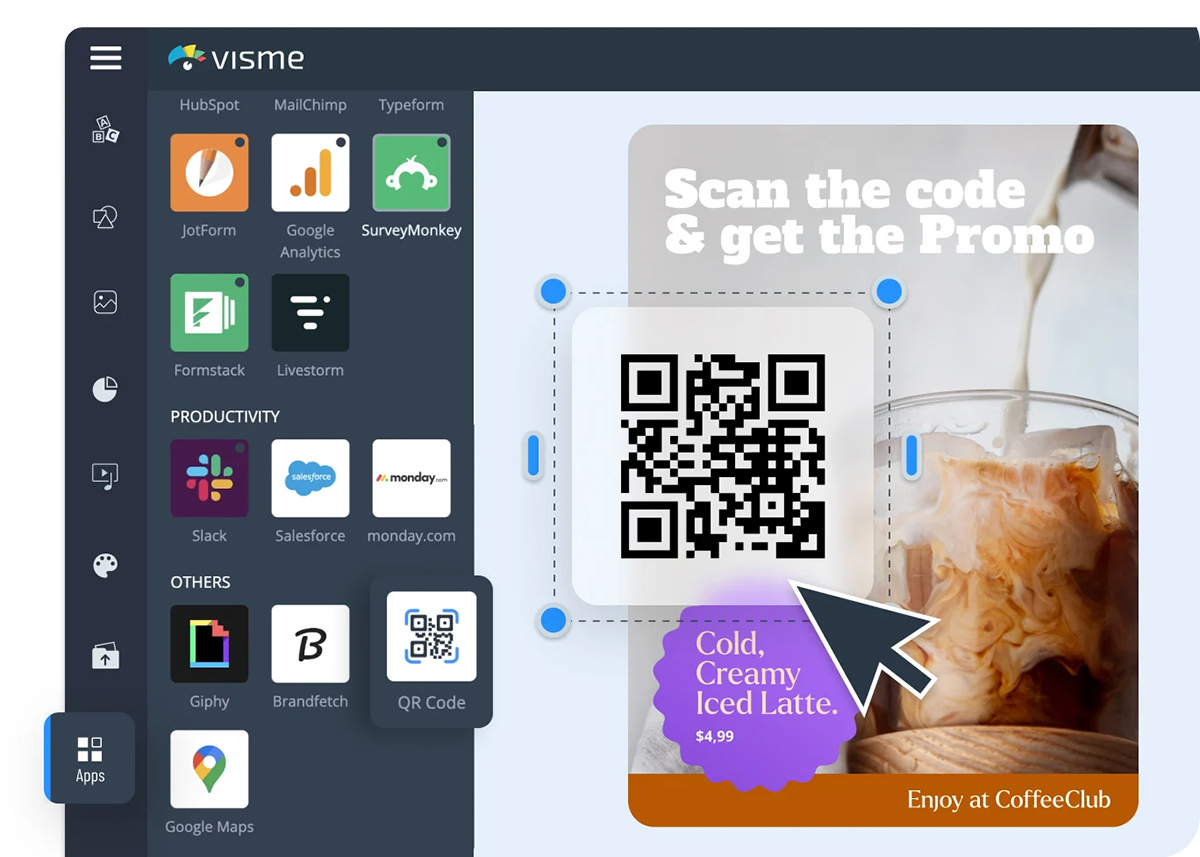
Closing on a QR code gives the audience a single action to take while you're still in front of them, whether that's a feedback form, a longer report, or a demo signup.
It extends the conversation beyond the moment the room clears and captures intent at the point of highest interest. You can also hand out cards with the code if you’re presenting at a conference, or email it to participants after the event.
A short quiz can quickly flip the audience from listening to interactive learning. Plus, you can track responses to see what stuck, making it a strong fit for training and onboarding decks where retention is important.
You can either use a Visme Form for the quiz or embed one from your favorite online quiz maker by pasting the iFrame code into the slide layout.
Wondering how to make a PowerPoint interactive quiz? Insert questions through the Forms add-in, or build one in Visme and embed it into any PPTX slide.
Asking a question mid-talk and showing results on screen can pull the inattentive audience back in, plus it gives you a read on the audience in real time. Poll Everywhere cites 19 peer-reviewed studies linking audience response tools to higher participation and retention, and in one study of medical fellows, over 86% reported that the tool increased their participation.
Likewise, presentation expert Nancy Duarte notes that the first lapse in attention often hits within the first minute, so an early poll resets focus before you've lost it.
Create polls with Visme Form or embed any made with SurveyMonkey, Typeform or Formstack.
A non-linear deck lets the audience follow the path they care about, rather than sitting through every slide in order. They’re super useful for self-guided decks and material you send ahead of a call.
There are three elements that make it work:
Are you a PowerPoint user wondering how to make your presentation more interactive? Use action buttons and slide hyperlinks to build a clickable menu and jump-to links. You'll still want a tool like Visme for the parts PowerPoint can't do, like hotspots, embedded polls, and hover detail.
A relevant story makes content relatable and easier to remember, which is why the strongest decks open with one and return to it throughout.
Nancy Duarte frames the job as "creating desire in the audience," then showing how your idea meets it. Brené Brown's TED talk, The Power of Vulnerability, shows how a personal story can carry dense research without losing the room.
Putting the audience in a realistic scenario, such as a tough customer call or a pricing objection, moves them from hearing the lesson to actually practicing it. Applying this technique to interactive training presentations and onboarding decks will make the message stick.
It’ll help reinforce key points and surface how people actually think under pressure. This technique is particularly effective in sales training, workshops, and team-building sessions.
An online whiteboard makes your presentation interactive by allowing everyone to add notes, sketches, and sticky notes from their own devices. It turns a presentation into a working session where everyone contributes rather than just listening.
Bring your slides onto the board and map ideas as they come up. It’s amazing for planning sessions, brainstorms and working meetings where the output matters.
Need more inspiration? Browse these interactive content examples.
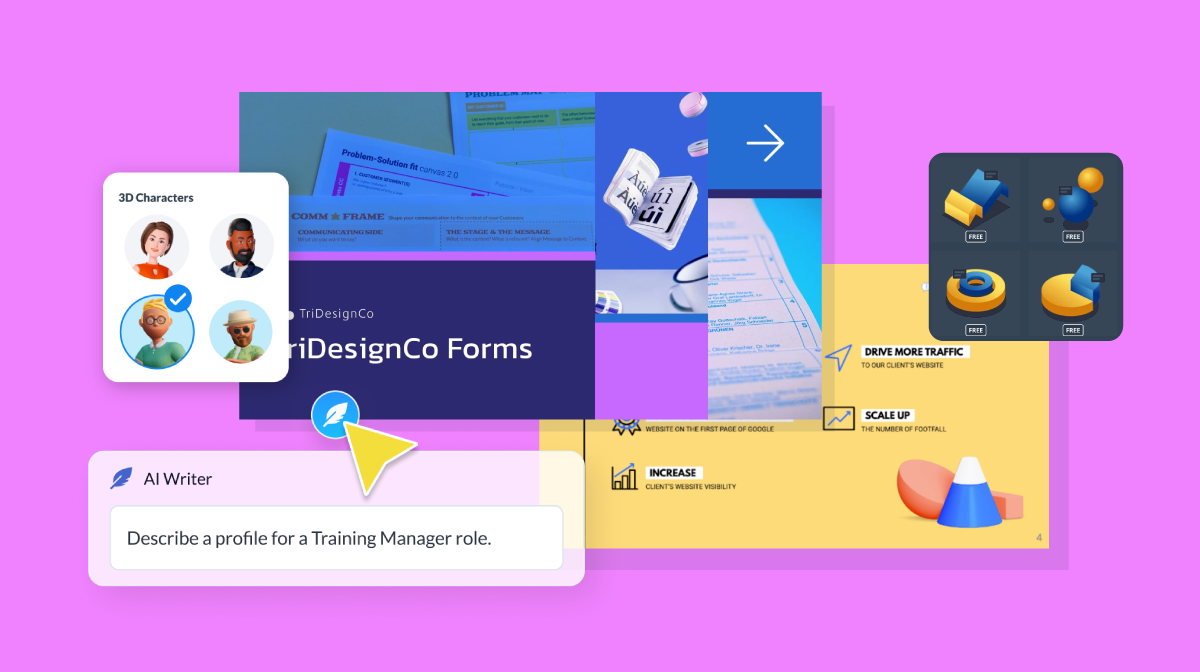
You don't need design or tech skills to build an interactive deck.
Kendra Bradley, former Graphic Content Developer at WOW!, switched her team off PowerPoint for exactly this reason, saying the interactivity in Visme is "so much more robust" and a deck that used to take an hour now takes 15 to 20 minutes.
Want to know more? Watch this video that shows you how to boost your interactive marketing content with Visme.
List your key points and the one action you want from the audience at each stage, keeping interactivity intentional rather than bolted on at the end.
An online whiteboard works well here: sketch the slide order, add notes, and rearrange with your team until the structure holds.
The same goes for any data you're presenting. Decide early which figures deserve a chart or data widget so the visuals support the story rather than decorate it.
You have two ways to start. Pick a template or generate a first draft with AI.
To pick a template, click "New," then "Project," then "Presentations" in the dashboard. Browse by category, including business, pitch deck, education, and creative, then customize it manually or with the Edit with AI function. A blank canvas is there too, if you'd rather build from scratch.
To generate a first draft with Visme AI, describe your topic in the AI Presentation Maker or upload your written content. It returns a structured deck you can edit and make interactive in the next steps. If you've set up your brand kit, the AI applies it automatically.
Building a sales or investor deck? Use the AI Pitch Deck Generator instead.
Click any text box to adjust formatting or edit the text manually or with AI Writer.
Additionally, you can drag and drop new text boxes, images and elements onto the slide to customize the layout.
Adjust the color palette to set the mood or match your brand.
Select an element and change its color from the toolbar.
To skip any manual styling, paste your website URL into the brand design tool and let the Brand Wizard pull your colors, fonts, and logo so anyone on the team can apply them in one click.
Keep recurring details like client name, date, or pricing consistent across slides with Dynamic Fields so that every time you personalize the deck for a new client, it’s fast and without manual editing.
You don’t have to do all this on your own; invite teammates to collaborate and ask them to comment and leave feedback. You can also grant edit access and design the presentation together or use Workflows to assign slides, set roles, and track deadlines.
Open the "Actions" tab to start layering in interactivity. Pick the features that fit your content, and add only what will truly give value.
Here are some possibilities.
Add hotspots to hide detail behind clickable icons, and set them to appear on click or hover. Link any element to another slide, a website, or an email to build non-linear navigation. Or embed polls and quizzes by creating an animated form and adding it to a slide.
Remember to keep the features practical rather than eye-catching. A navigation bar helps a slide-heavy presentation, but will be too much for a short presentation.
Likewise, a pop-up works for information that doesn't fit neatly in a slide but will be difficult to see if the slide is already cluttered.
Bring in vector icons, shapes, and 3D animated graphics to lift any plain slide.
Add or replace stock images and create visual cutouts with the background remover. If you’ve added legacy images, upscale, unblur or clean them up with the AI image touch-up tools.
Incorporate 3D characters and customize them to align with your overall design and brand guidelines. They can even be animated in different positions at your chosen speed.
Upload one of your company videos or embed one from YouTube or Vimeo. You can also browse the millions of stock videos in our repository to add as backgrounds or slide accents.
Need an image that stock doesn't cover? Generate one with the AI image generator by describing what you want and picking a style, then upscale, unblur, or clean it up with the AI image touch-up tools.
Record a voiceover directly onto a slide for asynchronous viewers, or generate one with the AI text-to-speech generator by pasting in your script. For more on combining formats, see this guide about multimedia presentations.
To keep every interactive intact in the shared presentation, generate a shareable live link or export as an "HTML5". Other formats include PPTX, PDF, JPG, and PNG. For training, export to your learning management system in xAPI or SCORM formats.
Hit "Share" to grab the live link, embed on a site, or post to social. Present live straight from the app, lean on presenter notes to stay on track, and use Presenter Studio to record a version for anyone who missed the session.
After sharing, check analytics for views, average time spent, and unique visits to see what held attention. That read matters most for decks you deliver virtually.
An interactive presentation tool is software that allows you to create presentations with interactive elements like quizzes, polls, and clickable links. Visme is one example of an interactive presentation tool.
You can make your presentation more interactive and fun by incorporating g quizzes, polls, games, storytelling, multimedia and other interactive elements. visuals. Visme offers many features that can help you create interactive presentations.
You can make your PowerPoint presentation interactive by using tools like Visme that makes it easy for you to infuse animations and interactive assets embed quizzes, polls and videos or link text and objects to an external websites and resources and much more.
There are many ways to present creatively without PowerPoint. You can use various interactive presentation tools like Visme, which offers a wide range of templates, features, and integrations to help you create and deliver engaging presentations.
Good interactive activities include live polls, quizzes, Q&A breaks, clickable hotspots, and role-play scenarios. Polls and quizzes work for quick input and recall, while hotspots and clickable navigation let the audience explore details at their own pace. Pick two or three that fit your topic rather than crowding every slide.
Use PowerPoint’s built-in tools: hyperlink slides to build clickable navigation, add action buttons to jump between sections, embed a video, and trigger animations on click. These cover the basics without a plugin. For polls, hotspots, and live results, you’ll need a tool like Visme or a paid add-in.
Visme is a strong free option, with templates, clickable links, hotspots, embedded polls and quizzes, and animation on its free plan. Canva, Google Slides, and Prezi also offer free tiers with lighter interactivity. Compare them in these guides to the best presentation software and the top interactive presentation tools.
Build in moments that require a response. Open with a poll, pause for Q&A, and use clickable elements so the audience can do more than just watch. Keep slides visual, add a voiceover for later viewing, and share a link they can click through on their own device.
Share an interactive deck on screen, then use Zoom’s own tools alongside it: polls, the chat for questions, reactions, and breakout rooms for small-group tasks. Drop a link or QR code in the chat so attendees can open clickable content, a quiz, or a feedback form on their own screens.
Add clickable elements that the audience controls, like hotspots, links, embedded polls, and quizzes, then share the deck as a link so each person interacts directly. A self-guided, non-linear format lets remote viewers choose their path, and built-in analytics show you what held their attention.
A few tactics from this guide, along with an easy-to-use platform, are all it takes to turn a flat deck into one your audience can act on. Pick one or two techniques to start with: open with a poll, add hotspots to a dense slide, or close with a QR code linking to a form. Add more once you see what your audience responds to.
The format matters as much as the tactics. A live talk can lean on polls, quizzes, and Q&A breaks to keep the room involved. A deck you send ahead of a call works better with clickable navigation, hover detail and a voiceover that carries the message on its own. Match the interactivity to how people will actually view the presentation, and check your analytics afterward to see what held their attention.
Visme gives you everything in one place: templates and AI to build the deck fast, plenty of interactive elements and brand controls keep every slide aligned, plus a detailed analytics dashboard to help you follow up.
Create a free account and build your next interactive presentation today. Rolling this out across a team or a whole organization? Talk to our team about Visme for business.
Design visual brand experiences for your business whether you are a seasoned designer or a total novice.
Try Visme for free