


![The Best Interactive Content Platforms in 2025 [Tested & Reviewed]](https://visme.co/blog/wp-content/uploads/2025/10/The-Best-Interactive-Content-Platforms-in-2025-Thumbnail-500x280.png)
The Best Interactive Content Platforms in 2025 [Reviewed]


With nearly two billion monthly active users, YouTube is the world’s second-largest search engine (next to Google.)
People use the platform not just for entertainment purposes, but also to find solutions to their day-to-day problems — this makes YouTube a gold mine for visual creators worldwide.
If you’re looking to create a YouTube video for any purpose — such as to promote your business, start a vlog or just to share a story, this guide is for you.
In this article, we’ll walk you through all the essential steps involved in creating, publishing and promoting a successful YouTube video.
We’ve also included tons of resources, templates and examples along the way to help you get started faster. Let’s begin.
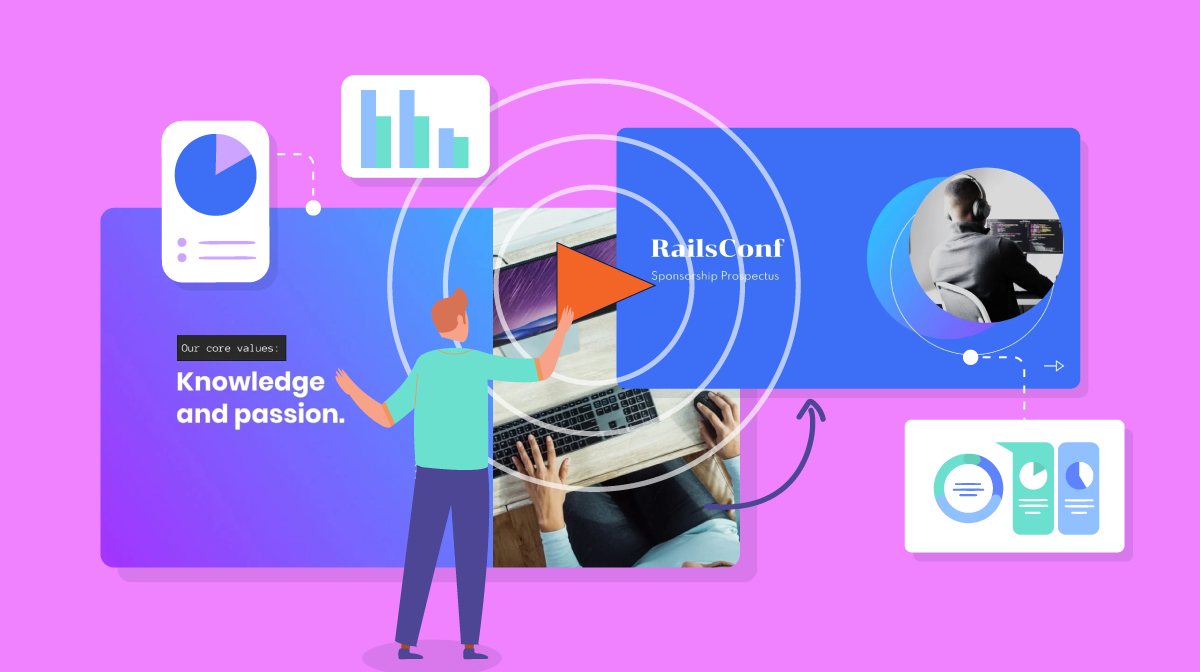
Start and end your YouTube videos in an engaging way. Use our online intro maker and outro maker with ready-made templates to grip your audience and motivate them to subscribe and like your videos.
Contrary to popular belief, making a YouTube video isn’t just about hitting the record button. Because if that were true, every creator — good or bad — would be making a living through the platform.
One thing that sets apart the best from the ordinary is the amount of planning the former put in to make their videos a success.
Here’s an example for you: MrBeast recently recreated Squid Game in real life, where he gave away $456,000 to the winner.
But what you don’t see is the amount of planning that goes into making this video.
The set and costumes took weeks to prepare and cost around $3.5 million to make.
Recreating Squid Games is costing more then I thought it would but i’m in to deep to stop now lol pic.twitter.com/Z196lyz4Ig
— MrBeast (@MrBeast) November 7, 2021
Do you think MrBeast would have been able to pull this off without any prior planning? Yeah, that’s a definite “no.”
To streamline the planning process, here are four things you need to do before you shoot your next YouTube video.
The absolute first step towards making a YouTube video is doing your homework on the following things:
As you can see, a big part of the research phase is to find the right keywords for your YouTube video. This will help your video rank — in other words, show up in front of the right people. After all, what use is your video if no one is going to see it, right?
You can use tools like Ahrefs, TubeBuddy and vidIQ to find the right keywords to target. Keep the overall theme, topic or problem of your video in the center and look for relevant keywords around them to find the best fit.
Here's a snapshot of TubeBuddy's Keyword Explorer.

Also, when choosing the topic for your YouTube video, make sure that you're specific rather than broad and vague. Try to look for 'content gaps' on YouTube — topics or angles that haven't been covered already.
For example, if you're creating a travel video on Istanbul, look for opportunities to stand out. If there are already a lot of videos covering the topic "What to do in Istanbul during the summer," maybe you could do a video about "What to do in Istanbul during the winter."
Targeted, more focused keywords that aren't too competitive are more likely to rank at the top — which means more views and engagement for you.
Also, conducting thorough research before finalizing the topic, style and specifics of your video will give your content a sense of direction and purpose, and will automatically make it more appealing for your target audience.
Once you’ve nailed down the topic of your video, you can go on to decide on the video's tone, as well as the style or type of video you’ll be creating.
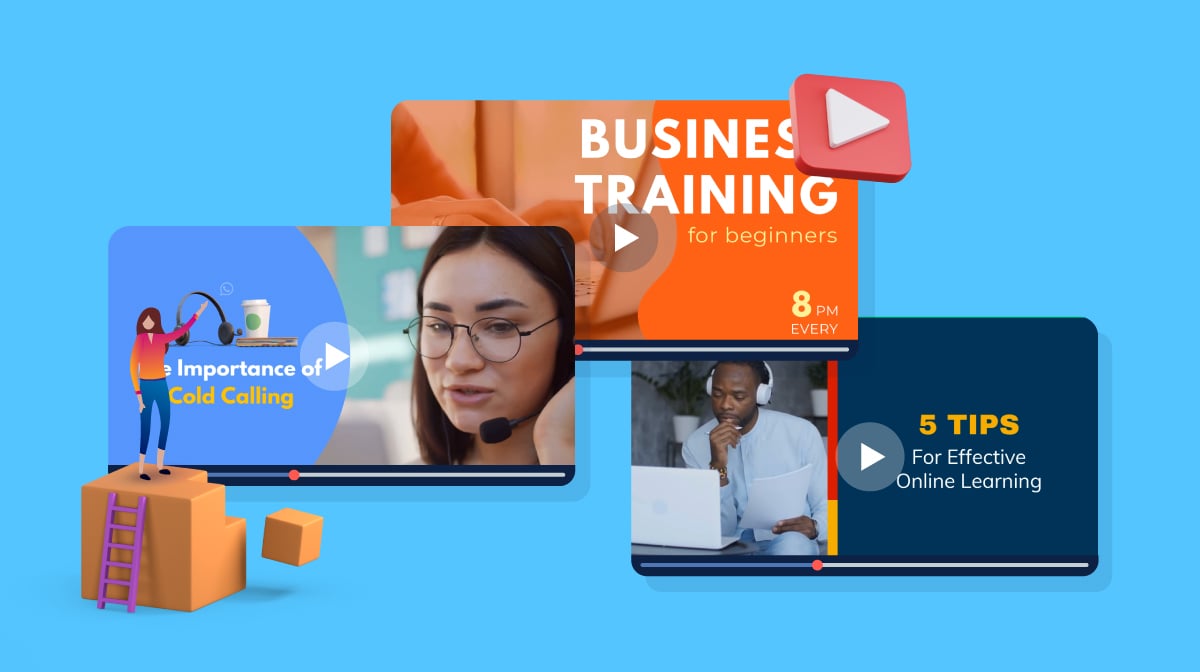
There are many popular types of YouTube videos you can use to convey your story or message. For example, if your goal is entertainment, your video style will likely be more relaxed and fun. But if you're creating an educational video or covering a sensitive topic, a more formal tone may be appropriate.
Some video types you might want to consider include:
You can also go deeper than the three options above. For example, do you want to create a movie-style video? Or are you looking to create a vlog? If you're creating an animated video, would you like to use custom animation? Or are you thinking of stitching photos together with audio and voiceovers?
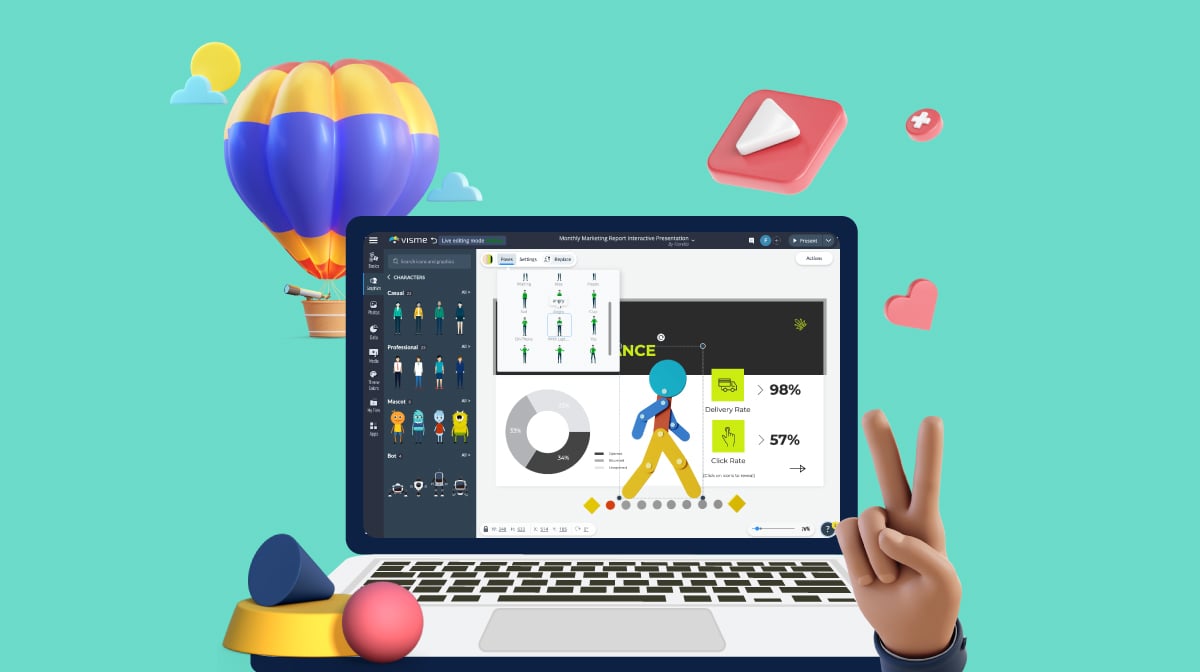
Pro Tip: If you're looking to create simple videos with overlays of text, animated icons, characters and illustrations, check out Visme's video maker. It comes with built-in animations, graphics and a timeline editor. Best of all, it works in your browser, and will save you the hassle of downloading and learning complex video editing software.
The next important part of the planning phase is the script for your video. This doesn’t necessarily have to include each and every word you are going to say, but you should at least write down the main points, sections or topics you want to highlight in the video.
If you’re creating a skit with dialogues, writing a complete script is probably the ideal way to go. But if it’s just going to be you talking to the camera, like a vlog set up video, then simply writing your main topics will work too.
Either way, a script is primarily used to streamline the process of video making. This is so whenever you begin recording, you don’t find yourself collecting ideas but being able to read off the script exactly what you want to say to your audience.
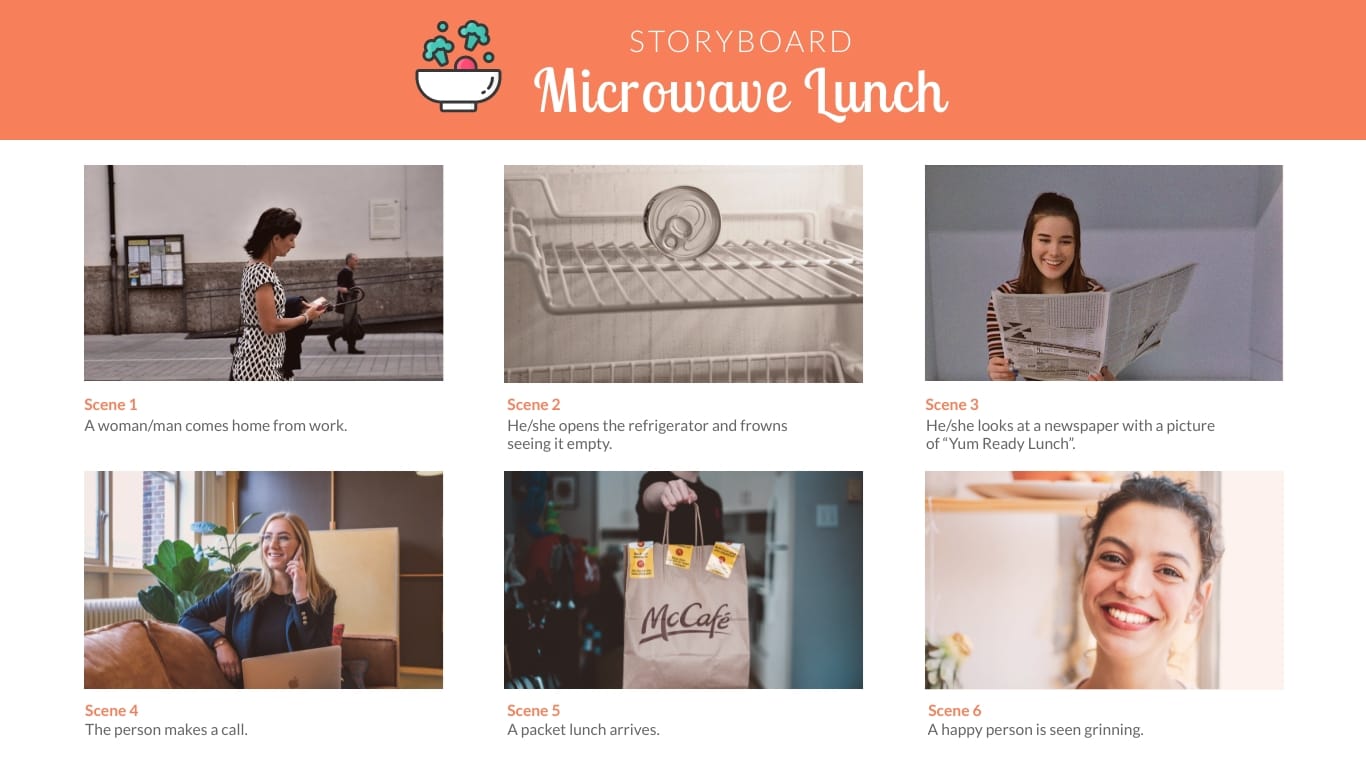
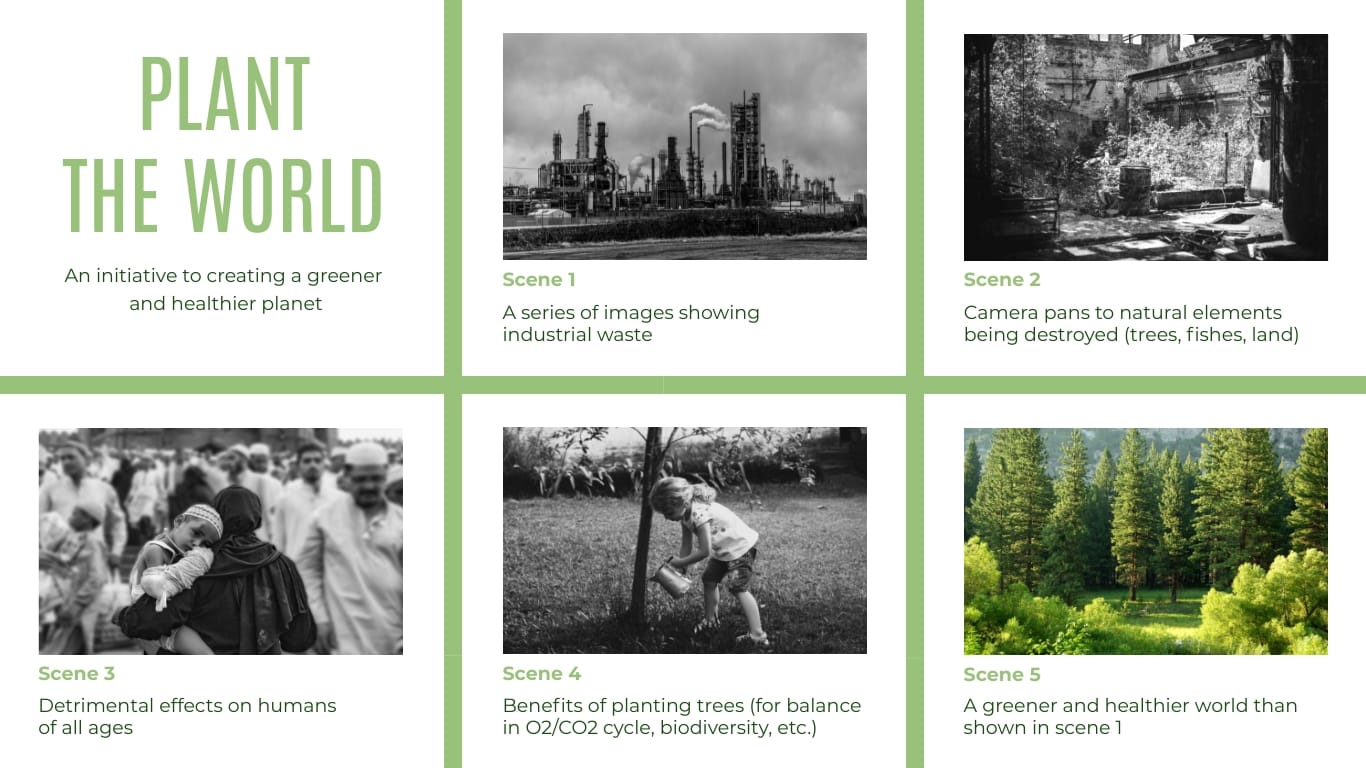
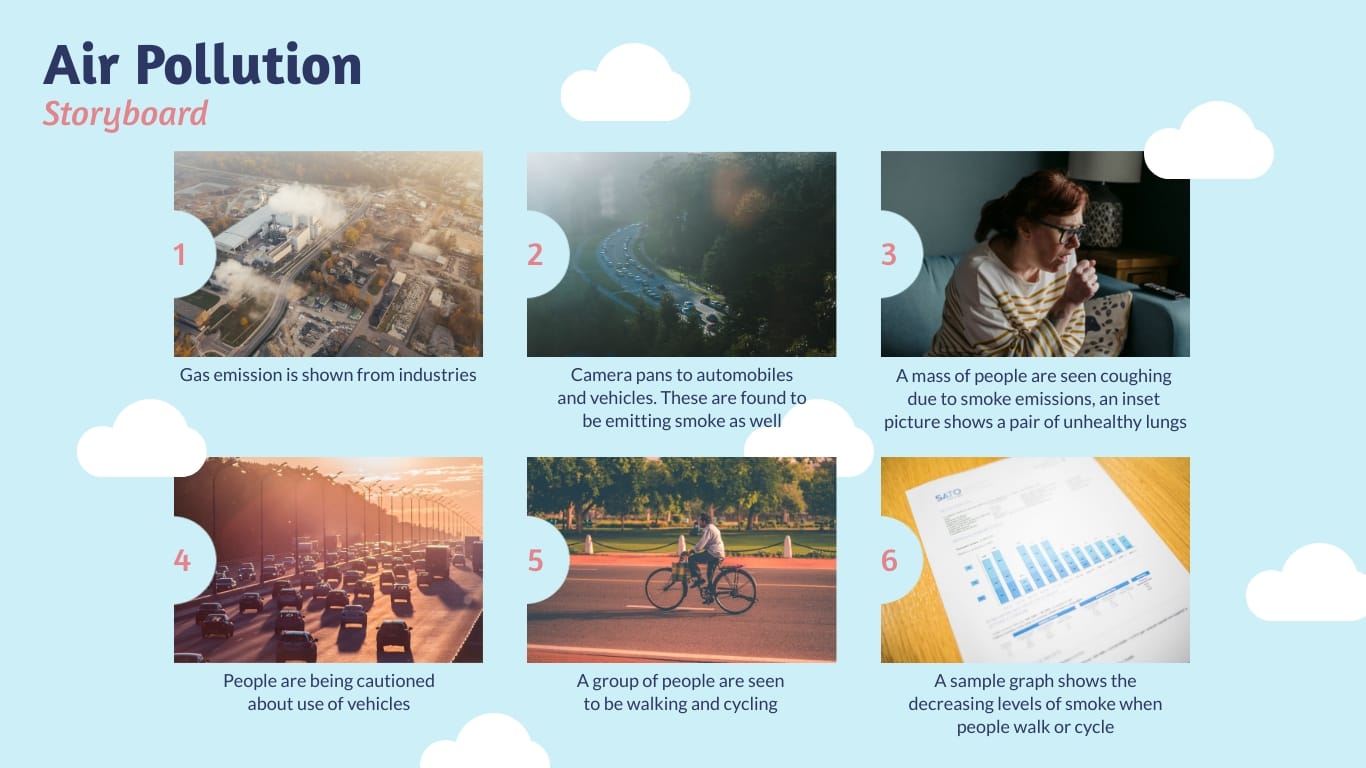
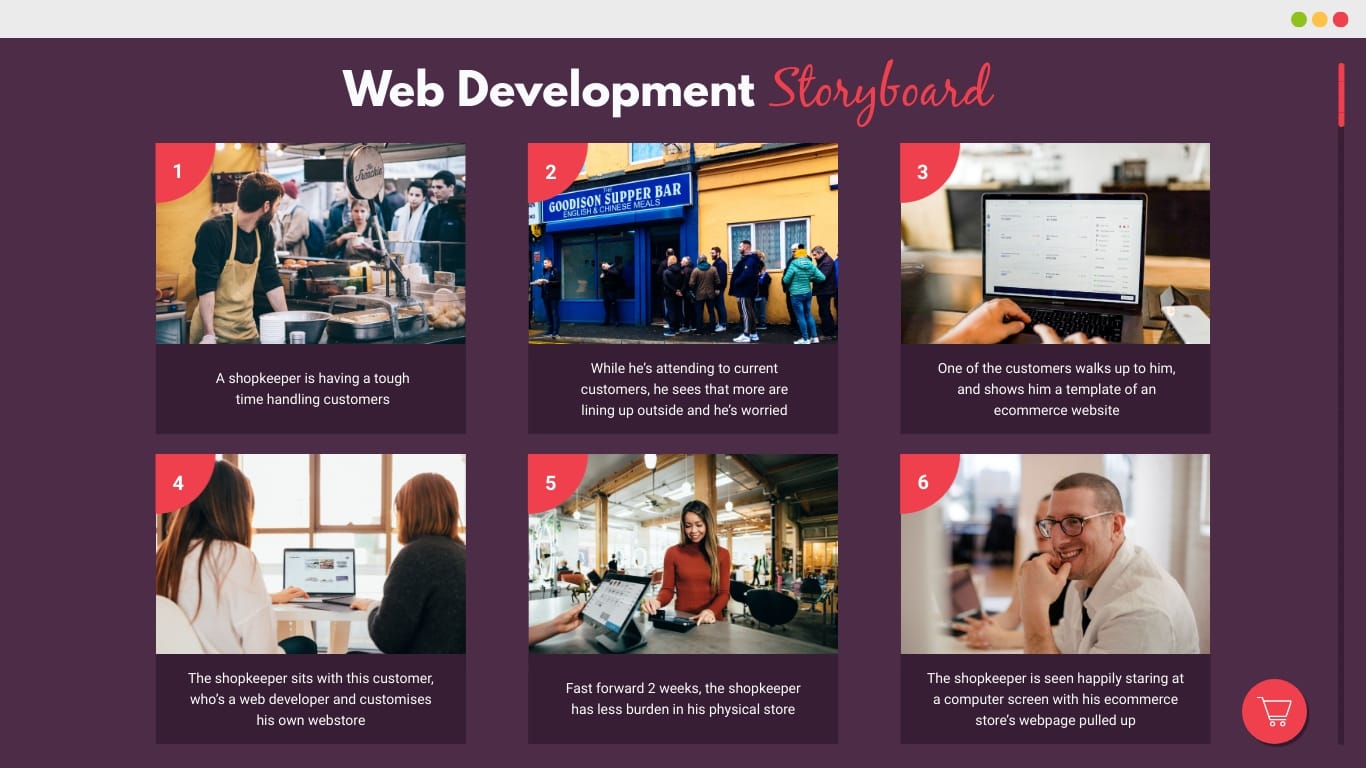
A storyboard is a visual representation of a story. It is made up of a sequence of images and graphic illustrations that helps creators visualize how their video will look once they’re done.
For example, for each scene of the video, visually illustrate the number of people used for it, the topics they will be discussing and even the backdrop of where they’ll have that conversation.
To save you the time and hassle of creating a storyboard from scratch, Visme offers pre-made storyboard templates that you can easily edit in your browser.
Simply swap in the placeholder images with your own (either by uploading from your computer or choosing from the free stock photo options that come built-in with the editor), change the scene text and download or share!
Creating a storyboard may sound like a lot of work, but once you get into the habit of making one for all your videos, you’ll see a considerable difference in the quality of your production. And rightly so — over-preparation is still better than under-preparation.
Choosing a location for your YouTube is more important than you might think. It gives context to the video and can considerably enhance the look and feel of your video.
Many people create videos in their home studios, but you don’t always have to do that. If the content permits, you can even head out to a park or a coffee shop to shoot the video.
Pick a location that is aligned with the topic of your video. For example, if you’re creating a vlog about the best places to see in a city, make sure you go to those locations to shoot the video.
You can stay in your room and record the video too, but your audience will feel more connected to the video if you shoot those scenes at the places you’re talking about.
Regardless of the location you pick, make sure there’s plenty of light, so you’re well-lit, and there aren’t a lot of people that can cause interruption to the video-making process.
Now that you’ve got planning out of the way, it’s now time to record your YouTube video.
Yes, it can be as easy as hitting the record button on your phone or camera. But if you want to create amazing videos, you’ll need to invest in equipment that can help take your videos from good to great.
We can break down video production into four sections:
Let's explore each one in detail:
A video camera is probably the biggest and the most important investment you’ll make for your YouTube channel. This is going to be something that you’re going to use to record all your videos, so you’ll ideally want one that’s durable, lightweight and good quality.
There are generally two types of cameras to choose from; a DSLR or a mirrorless camera. But each one comes with its own drawbacks.
A DSLR, for example, will produce great quality footage but will be heavier than a mirrorless. So, it will probably be more difficult for you to create vlog-style videos with a DSLR camera.
That's why many YouTubers, especially beginners, prefer using mirrorless cameras — they are considered to be newer technology and are considerably lighter in weight than traditional DSLRs.
Make sure the camera you choose has built-in image stabilization, great autofocus capabilities and a good quality microphone. Another incredibly useful feature is a flippable screen, which makes it easy to shoot vlog-style, selfie videos.
If you’re looking to go ahead with a mirrorless camera for your channel, here’s a great video that discusses some excellent mirrorless options to choose from in 2021:
Other video equipment you’ll probably want to purchase includes a tripod, stabilizer and a drone. But you can buy all of these later on as you make more videos and grow your channel.
The next thing you’ll want to invest in for your YouTube video is the audio equipment.
Even if you have the best camera in your arsenal, there’s a high chance that you’ll still need to get your hands on a mic to fix your audio.
There are generally 3 types of microphones used by YouTubers:
Each of them is ideal for different uses, so invest in one that gets your work done.
For example, if you create videos in a studio, a dynamic microphone will be more suited to you. But if you move around while creating content, such as a vlog, then go for a condenser or lavalier microphone.
If you’re on a budget, here’s a great round-up video of some of the best mic options under $100 to choose from:
If you're using a mobile phone to shoot your video, then don’t worry, there are tons of options out there for you to choose from as well.
Another key aspect of any video is its lighting. If your video is too dark or too bright, it obviously won’t look good, and you'll run the risk of people skipping your content.
For starters, natural light is excellent. But as you scale your channel, you’ll probably want to invest in studio lighting that’ll greatly improve the quality of your videos.
Here are some of the lighting equipment you may want to add to your production gear:
Check out this excellent video by Ben Johnson, who’ll walk you through all the steps you need to take to give your videos a tremendous cinematic look:
With everything said and done, it's now time to hit the record button.
Keep your script and storyboard close to you so you don't miss out on any important detail of your video. And believe in the story that you're telling. Because let's be honest, nobody cares how expensive your camera gear is if you have a compelling story to tell.
So, use the equipment to the best of your abilities, and focus on the content to create a value-packed video that'll solve a problem for your audience.
Once you’ve finished recording your video, it’s now time to head back to the drawing board and finetune the footage in post-production.
There are multiple aspects involved in editing a video. In this section, we’ll talk about four important ones that’ll help you level up the production of your YouTube videos:
First, you need a good video editing software, where you’ll import all the footage, stitch it in a way you want the story to progress, color grade the clips, add voice overs and music, and more.
Done well, all of this can increase the final quality of your videos.
There are several video editing software to choose from, both free and paid. Here’s a list of some of the most popular ones:
The most commonly used video editing software are Adobe Premiere Pro and Final Cut Pro. Since they are so popular, you can easily find free and paid plugins for them online that can help you create even better videos.
Sign up. It's free.
Make video production easier than ever with Visme.
The most popular YouTubers you’ll see on the platform will probably have a dedicated intro and outro they use for all their videos.
You may question their purpose and argue whether they get in the way or negatively impact the audience's viewing experience.
The answer to this question is simple. For someone that has stumbled upon your channel for the first time, intros are used to tell them exactly who you are and what your channel is about. That way, they'll know what to expect and why they should subscribe to your content.
Here are some intro templates you can use for your own videos:
You can edit these intros within Visme and customize them until you're happy with the way they look. Then, download them in MP4 format and add them to the beginning of your videos.
Similarly, outros can drive viewers to take specific actions, such as subscribe to your channel or watch other related videos. They are also a great way to re-emphasize your branding.
Check out these stunning outro templates from Visme.
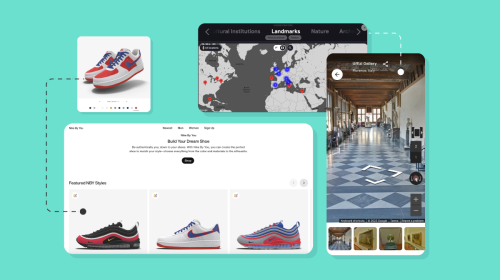
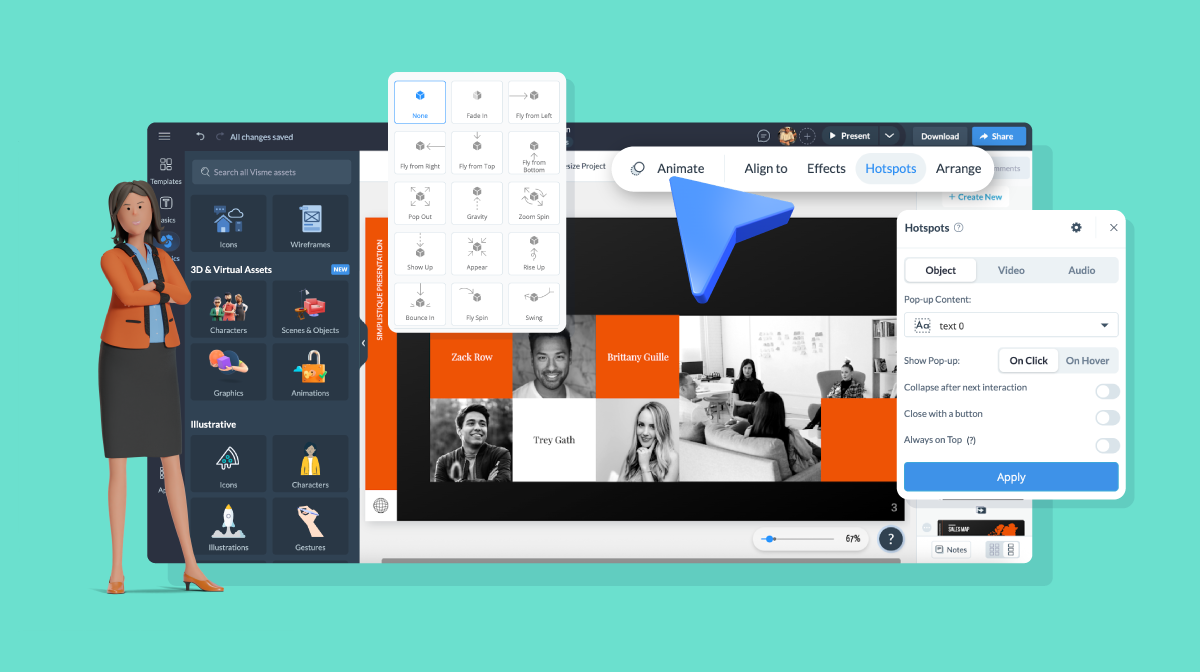
To further improve your YouTube videos, you can also insert animations, icons, transitions, effects, and text boxes into the footage.
Those elements will make the video more watchable and considerably more interactive, as the viewer will follow along with whatever pops up on the screen.
Visme is an excellent place if you’re looking to add animations and icons to your footage. Simply pick the element you want to add, download it and import it to your video editing software.
Text is another essential part of your YouTube videos. You can use the text as hardcoded subtitles for your videos or use them creatively as titles, headings, lower-thirds, etc.
Sign up. It's free.Create engaging animated content with Visme.
Another thing that you’ll probably want to add to your videos is the background music.
The music you choose will give emotion to the story you’re telling and keep your audience glued to their screens.
YouTube has its free audio library from where you can select the music to add to your videos without any risk of a copyright strike.

Unfortunately, even though there are many options to choose from, they are still pretty one-dimensional.
If you are looking for more trendy sounds that you hear in the videos of famous YouTubers, then use paid resources like Epidemic Sound or Sound Stripe.
Depending on the type of content you’re producing, you may also want to add a voiceover to your video. Simply stitch the audio clip over your footage, and edit it in a way that progresses your story.
After you’ve completed editing your video, you can export the file into the highest possible resolution from your video editing software and get it ready for publishing on YouTube.
Once the render is complete, go to your YouTube channel, click on the + icon on the top right, and hit Upload Video.
This usually takes time, depending on the size of your file and the quality of your internet. But while YouTube uploads it in the background, you can take care of some of the other important stuff.
In this section, we’ll discuss YouTube’s publishing process.
Apart from the video itself, here is a list of other vital things you need to upload to the system to ensure the video reaches its intended audience.
Once your video is successfully rendered in its highest quality, and you have added in all the essential components, you can now go ahead and publish it.
You can share the video quickly by sharing it publicly, set it as Private if you want to make any changes to it or schedule it to publish at a later time and date.
Your work is effectively complete now, but you can still do some things to get more eyeballs on your content. We’ll discuss those promotional techniques in the next section.
You have done all the hard work of planning, recording, editing and publishing your YouTube video, but what use is it if no one actually watches your videos?
Promoting your video is a key step of ensuring that it reaches a wider audience. There are many ways to promote your YouTube videos online. Let's take a look at some of them.
The best place to promote your video is on your other social media profiles, such as LinkedIn, Facebook, Instagram and Twitter.
You can do this by simply sharing a link to your YouTube video. For example, here's how we (at Visme) share our YouTube videos on LinkedIn:

Another way is to create a shorter version of your actual video and adding a link in the description so that people can click on it to go to your channel to view it in full.
This will also help you bring followers from other social channels to YouTube, subsequently boosting your subscribers and watching hours on the platform.
Another way to boost your YouTube videos is through paid promotions. These paid promotions can be on YouTube or on other social channels.
For YouTube promotions, you need to create a Google Ads account, where you can manually create a campaign from scratch — choose the audience, select the budget and run your ad.
There’s also an easier way to create promotions from inside YouTube:
Once you’re done, Google will carry out a quick background check and start showing your video to your target audiences.
Just like we discussed earlier, YouTube allows you to add cards to your existing videos so you can promote other uploaded content as well.

This is an excellent way to keep your audience hooked to your content so they don’t wander off to other creators looking for answers to different questions.
One the easiest ways to promote your video is to engage with your audience and the larger community.
Reply to comments under your videos, run polls and giveaways, and engage positively, and you'll end up building a solid relationship with your audience.

Think of it this way — everything we do in life is about experiences. So, if one of your followers has a good experience with you, they’re more likely to suggest you to their friends and family.
This can result in a higher subscriber count for you, and your audience will also be more likely to continue watching your future videos — translating into higher watch hours.
Another way to promote your content is on different groups and forums related to your video's theme or topic.
Reddit, Quora, Facebook groups and other forums are great places to start.
For example, if your video is about traveling the world on a budget, find threads on these forums that discuss budget traveling.
The first thing you need to do is make sure you’re responding to questions yourself, tell the forum where you are, and answer any questions related to your niche. This will help build a relationship with other community members, and they’ll know that you're an expert in your field.
And once you have that, you can begin plugging in your YouTube videos.
If you start by posting your content, nobody will click on your link, as they wouldn't know who you are. Building relationships in online communities can take you a long way.
This may not apply to everyone, as not all creators manage an email marketing list. But if you have one, it's one of the best ways to promote your YouTube content.
Once you upload your videos on YouTube, send them over to your email lists announcing that you just shared a new video and why they should check it out.
This promotion technique is more suited to businesses with information on their customers and know the content they’re more likely to engage with.
You can also include your latest YouTube videos in your weekly or monthly newsletters. Or, gather up relevant videos to share on a certain email newsletter topic.
The last point on the list isn’t related to video promotion, but it's something that just can't be ignored.
YouTube analytics is a great way to gain insight into all your videos. This includes your overall channel analytics, as well as more specific data on the age group of your audience, gender, geography, impressions, top cards, clickthrough rates and more.

All of this information can be used to manage the content of future videos.
For example, suppose a video is being watched with subtitles.
That gives you an indication that you probably have a broader audience that's interested in your content, but since you’re speaking in one language, you’re unable to get them to subscribe to your channel.
One of the best ways to be successful on YouTube is to create content that not only offers value, but also drives and motivates you to keep going.
If you love the theme and topic of your channel, it’ll keep you motivated to get up every morning and plan your videos. And sooner rather than later, you’ll be able to grow your YouTube channel and reach your target audience no matter where they are in the world.
Follow the processes and tips mentioned in this article, and get ready to record your first video. And don’t worry if your subscriber count isn’t increasing at the pace you wish it would. Just remain patient and consistently create videos, and success will follow.
Check out our video maker to create simple videos with animations and text overlays, or use our stunning intro and outro templates to make your YouTube videos more effective.
Design visual brand experiences for your business whether you are a seasoned designer or a total novice.
Try Visme for free