


The Best Beautiful.ai Alternatives to Create AI-Powered Presentations

With the rise in demand for video content, knowing how to embed a video in your presentation maker is essential. In this guide, you’ll learn how to embed a video in PowerPoint, Google Slides and Visme for Mac and PC.
But if you were wondering about creating your own videos, we also share the best reasons why Visme should be your company’s go-to video and content-authoring tool.
*Disclaimer: PowerPoint is a registered trademark of Microsoft Corporation. Visme is not affiliated with or endorsed by Microsoft. References to PowerPoint are for descriptive purposes only.
Adding videos to your presentations in Visme is easy. There are three ways; adding stock video, uploading from your computer and embedding online videos.
Visme has more than 4 million stock videos to add to your projects. Options include animated backgrounds, aerial landscape shots, people interacting and many more. Use the search bar to find what you need.
You have two options for adding videos in Visme projects: as a background or as an element in the design. Try them and see which is your favorite.
Step 1: Open the presentation where you want to add a video.

Step 2: Navigate to the Media button on the left menu bar

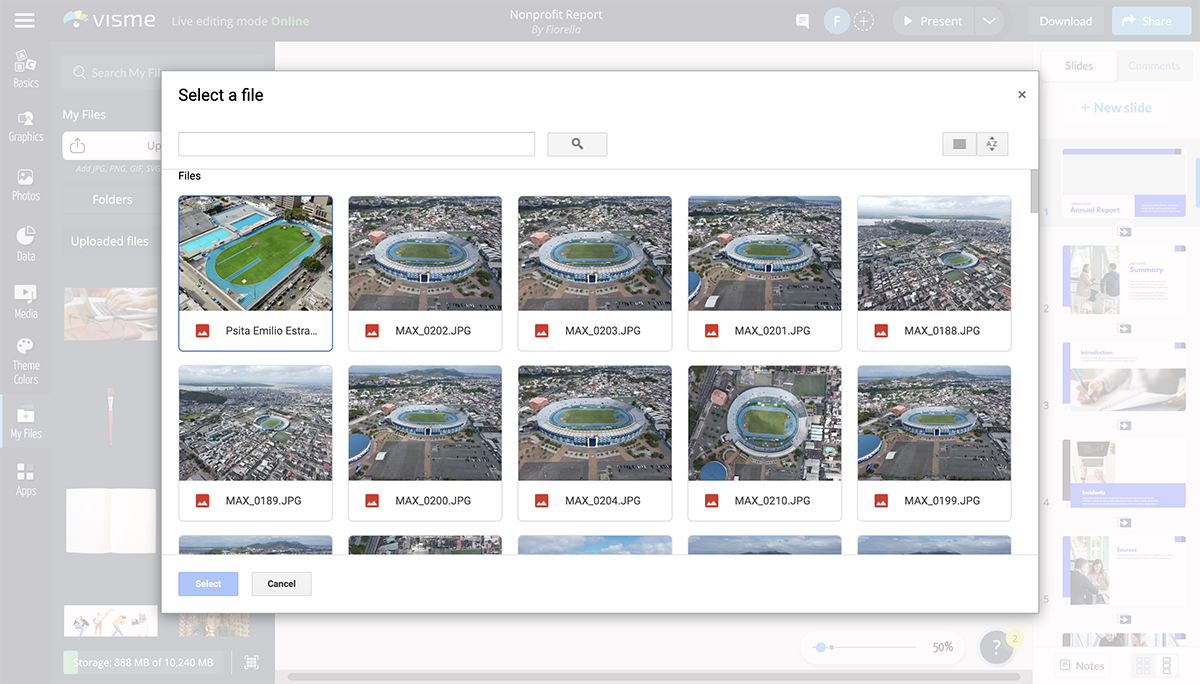
Step 3: Click Videos, and then choose between stock videos or your own videos. You can even preview any video before inserting it into your project.
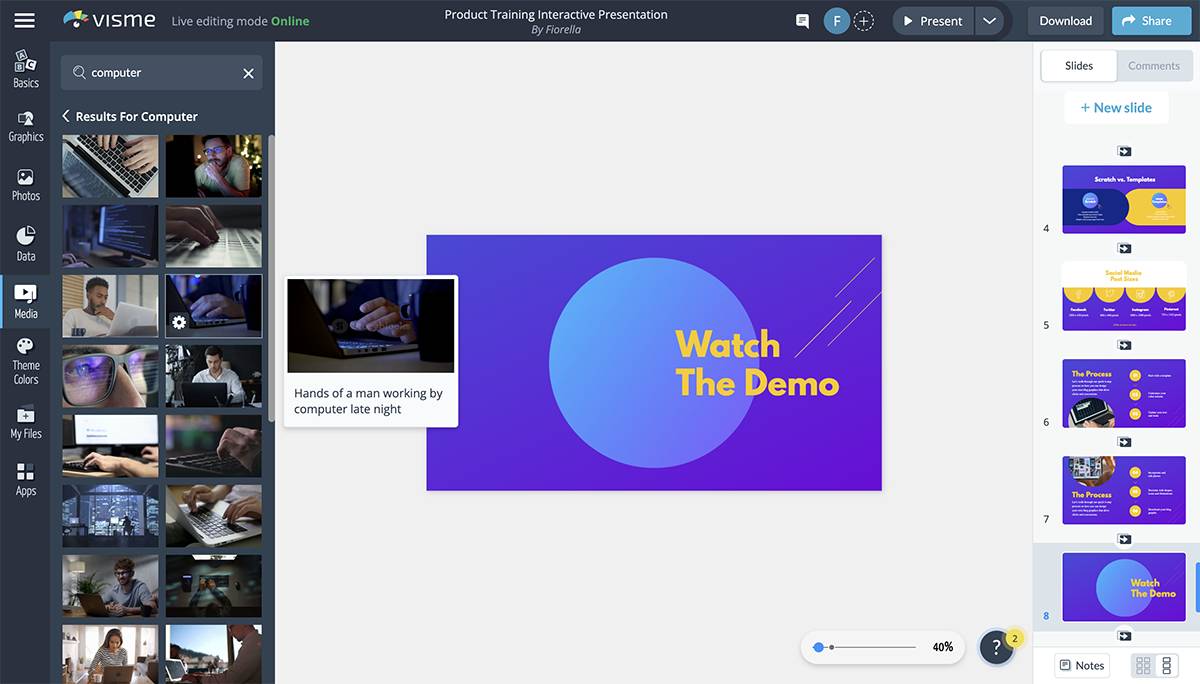
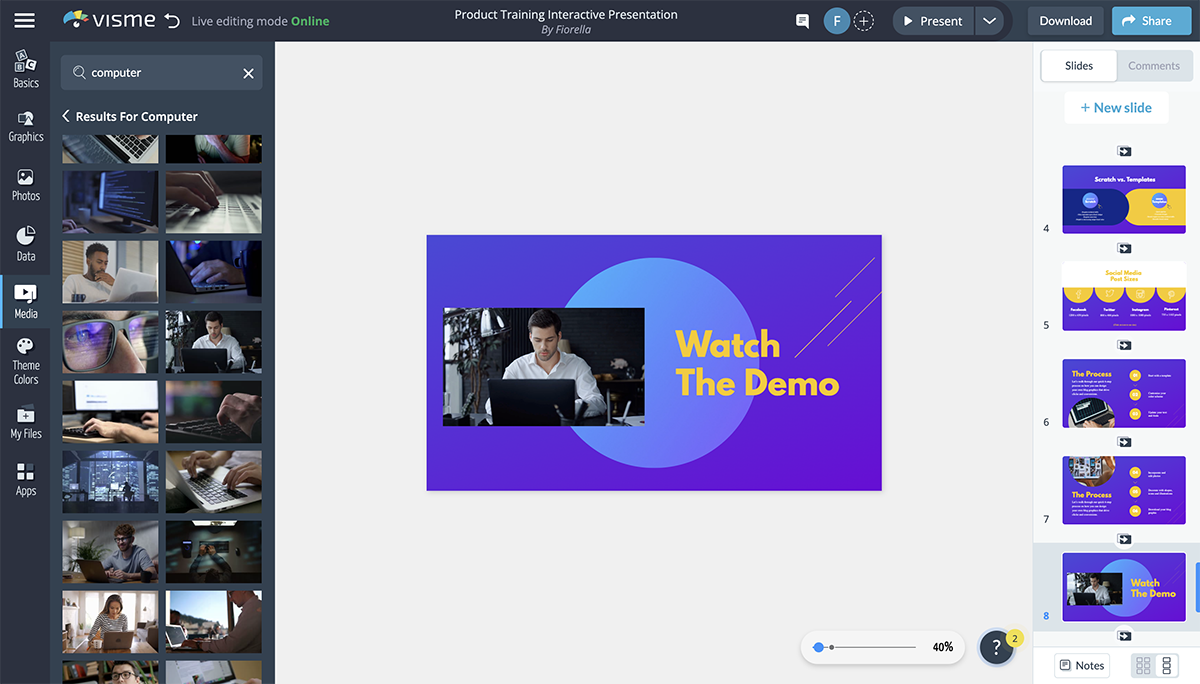
Step 4: Click and drag the chosen video to the canvas until the blue layover appears. You can adjust the video size as well as use the Arrange tab to place in front or behind or slide objects.
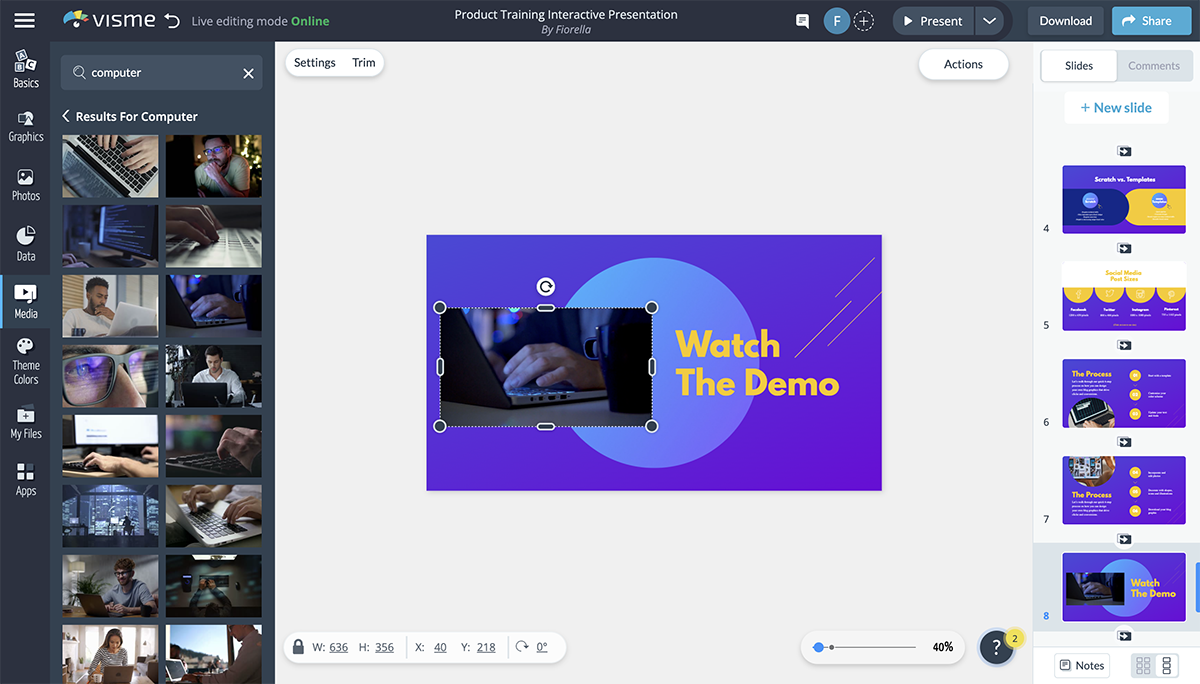
Step 5: If you want to change for another, just drag it on top, and the previous one will disappear.
The video background will autoplay and loop on mute automatically.
Step 1: Open the project where you want to add a video.
Step 2: Navigate top left and click on the Background button.
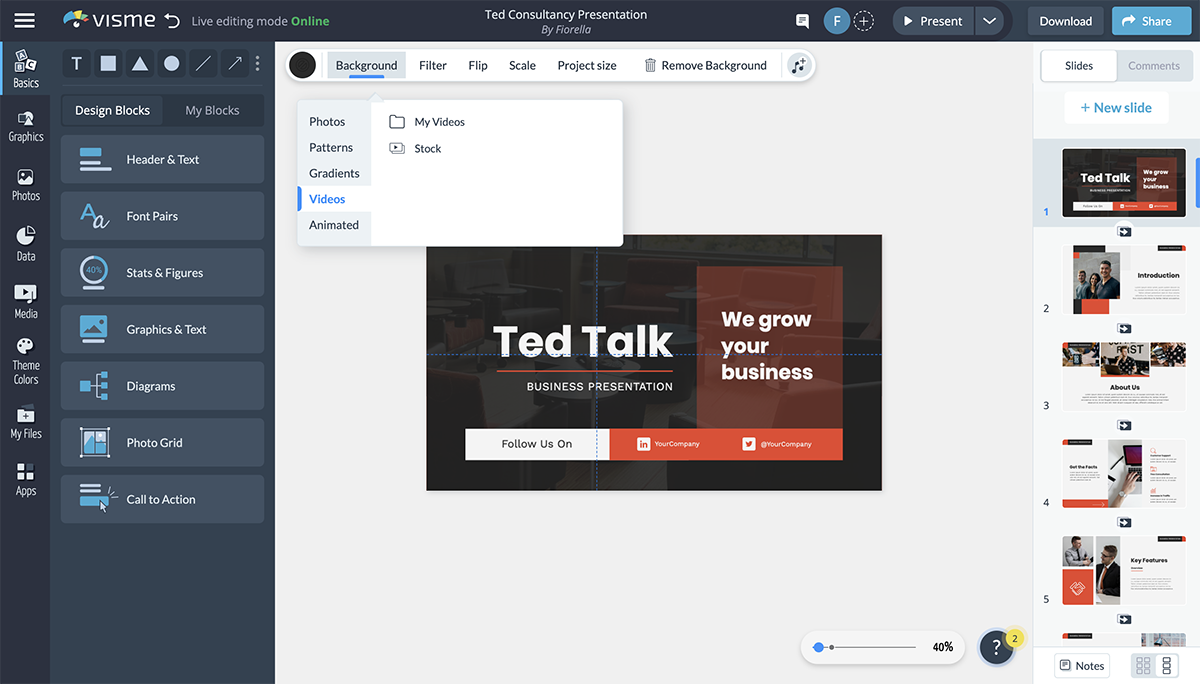
Step 3: In the dropdown, select Videos.
Step 4: Choose between Stock and My Videos. The corresponding menu will open.
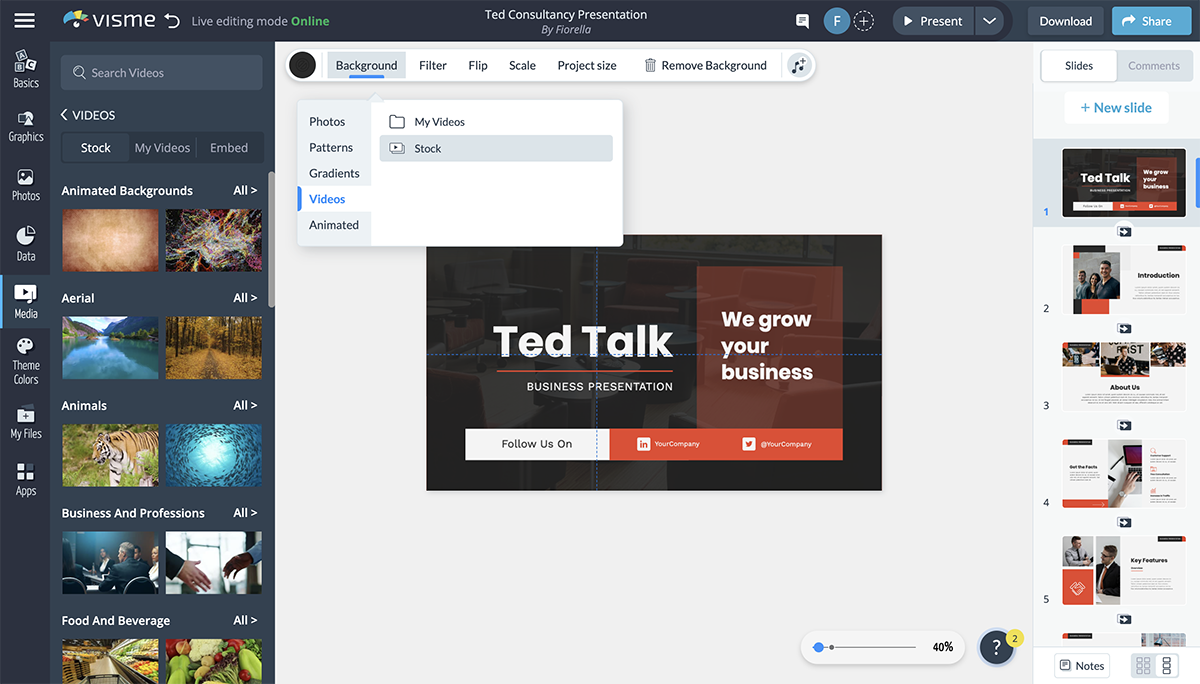
Step 5: Double-click on your chosen video to set it as background.
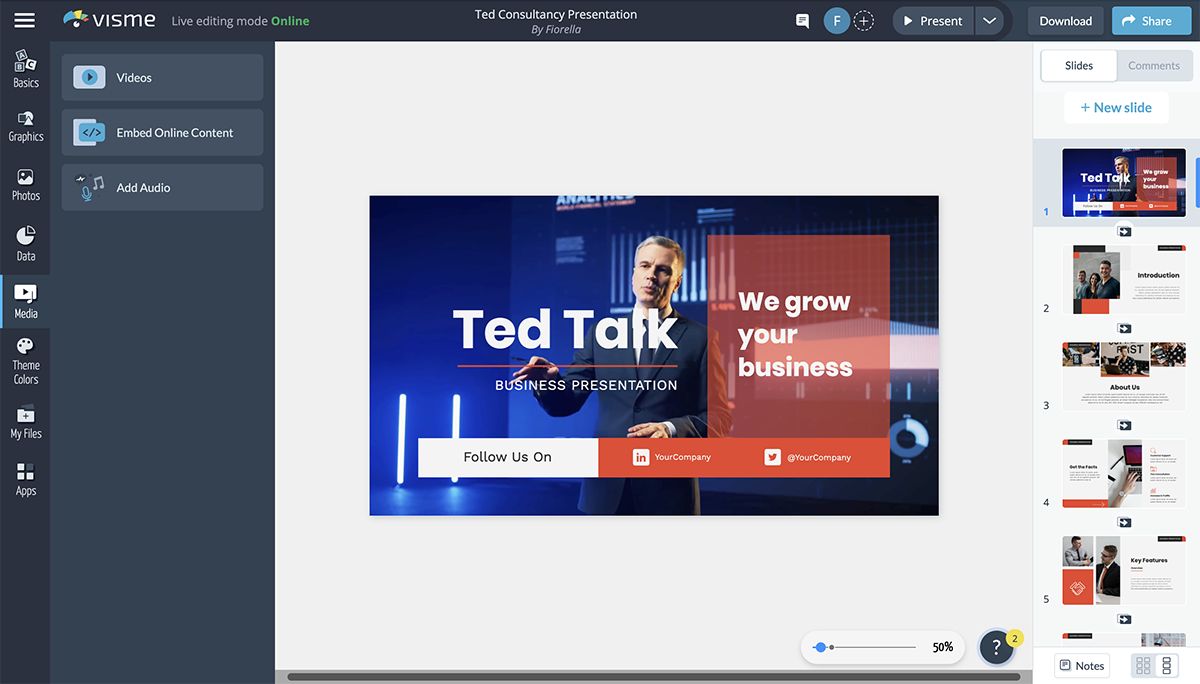
If you want to add a video as a background, follow the steps in option two. Once the video is in the canvas, you can place and resize it as needed.
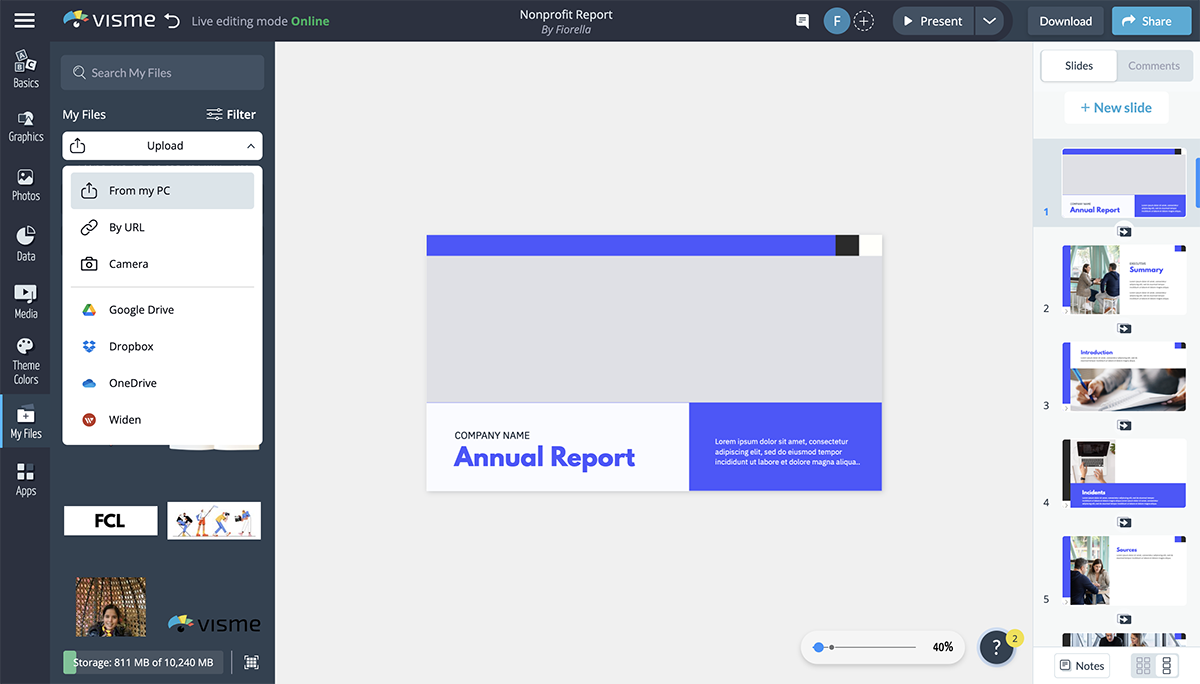
Sometimes, 4 million stock videos aren’t what you need, especially if you have to follow branding guidelines and have a repository of in-house production videos. In this case, you can upload videos to your Visme Media Library and have them on hand for all future projects.
You have a couple of options to upload a video to your Visme workspace. When you have several videos you need for various projects, the best option is to upload them directly to your Media Library.
Below are the steps:
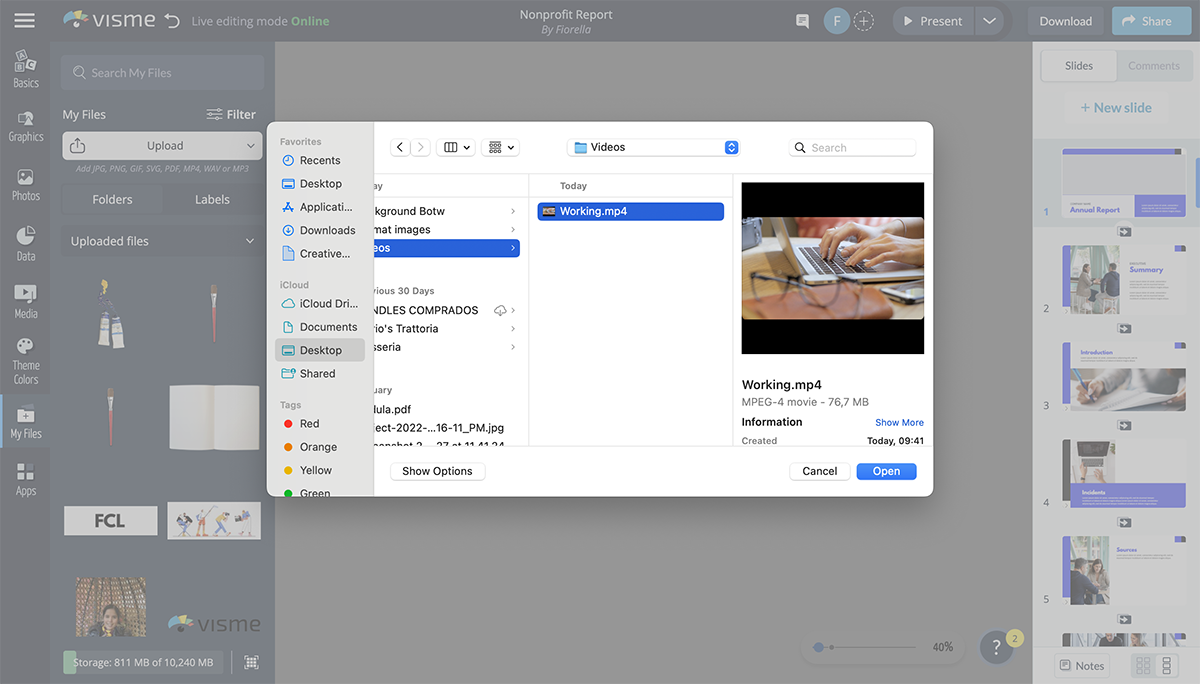
Step 1: From your Visme dashboard or inside an open project, navigate to My Files in the left vertical menu.
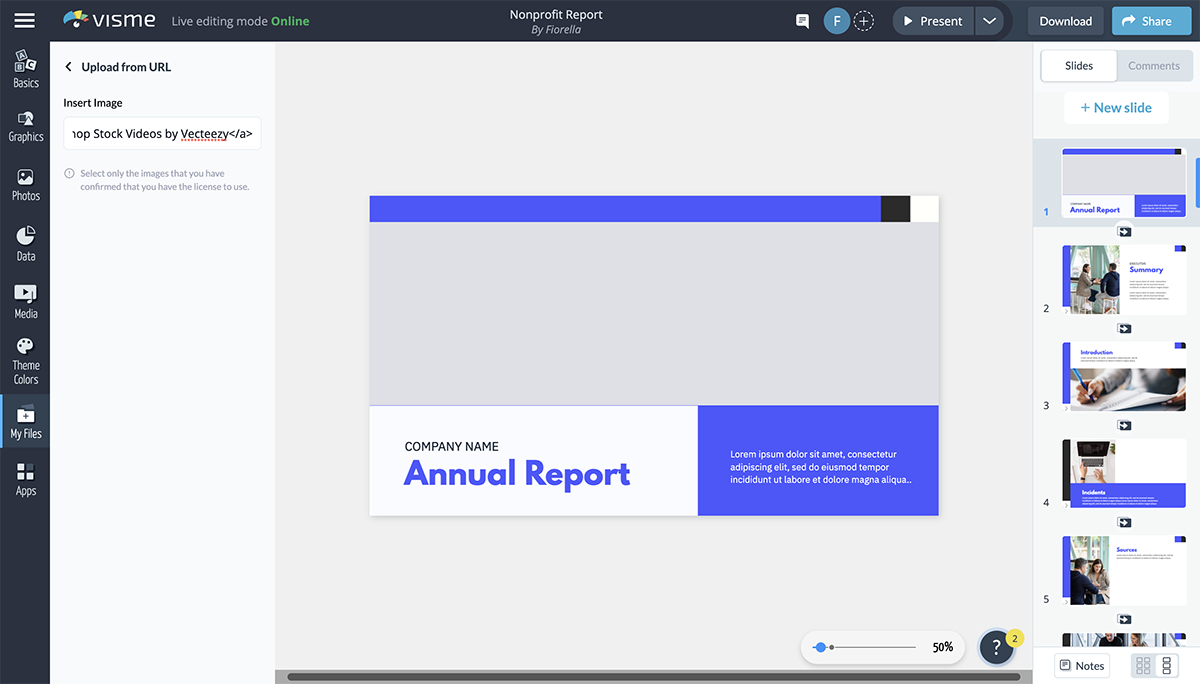
Step 2: Select where to upload videos from. The options include:
Step 3: Organize your videos using coherent names and labels. Use folders to group videos in categories or per project.
If you’re already inside a project and need to upload a video from your computer, you can do so like this:
Step 4: Open the slide where you want to add the video.
Step 5: Navigate to the Media button on the left menu bar.
Step 6: Select My Videos and then click on the Upload button.
Step 7: Choose the video from your computer files and upload it.
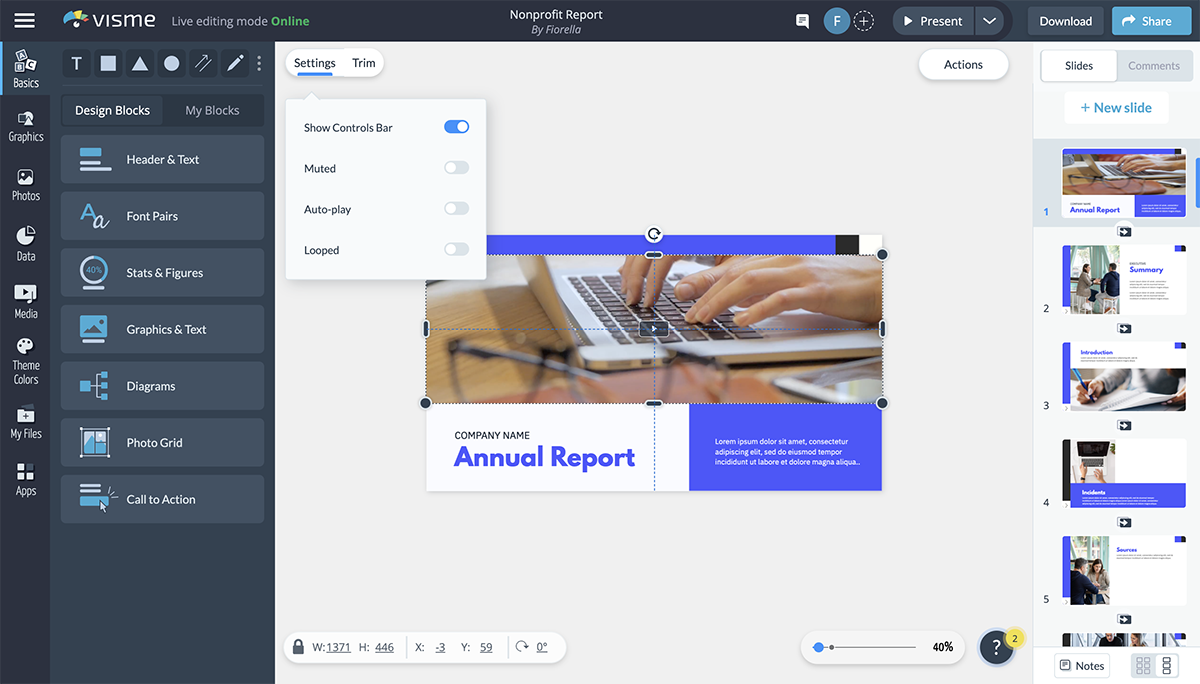
Step 8: Use the Settings tab to toggle the control bar, autoplay, mute, or loop.
Step 9: Click on Trim to clip the video.
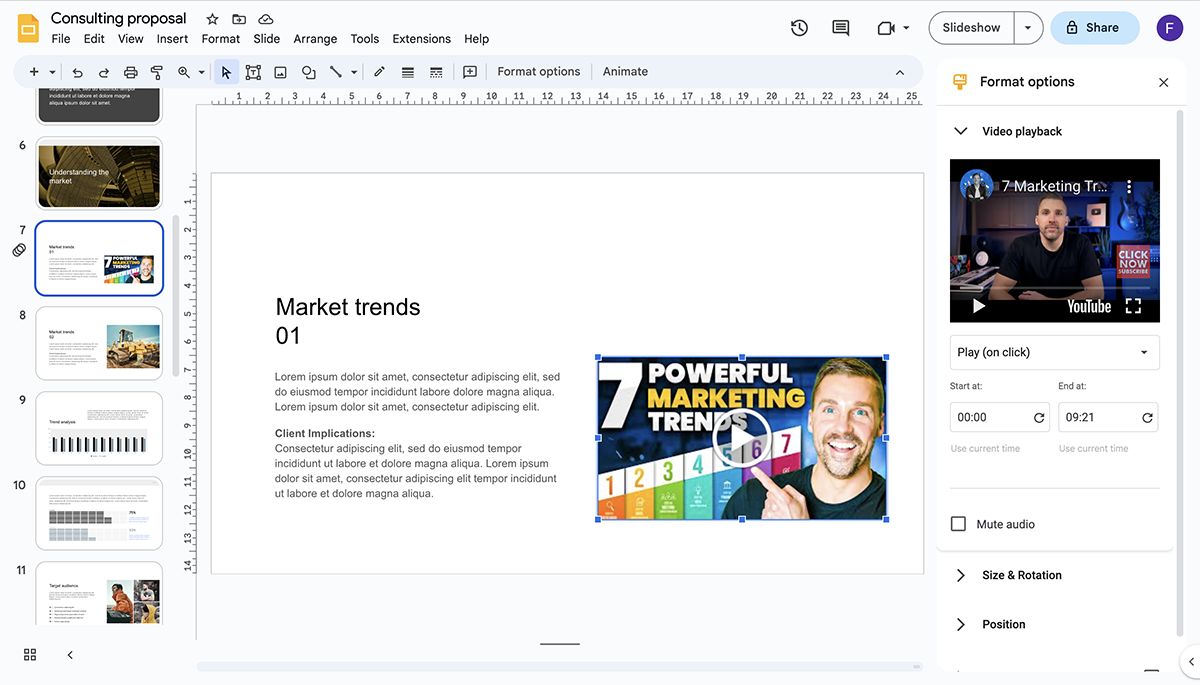
With Visme, you can embed videos from online sources; YouTube, Vimeo, Wistia, Vidyard and Loom. Here are the steps to follow:
Step 1: Open the slide where you want to add the video.
Step 2: Navigate to the Media button on the left menu bar.
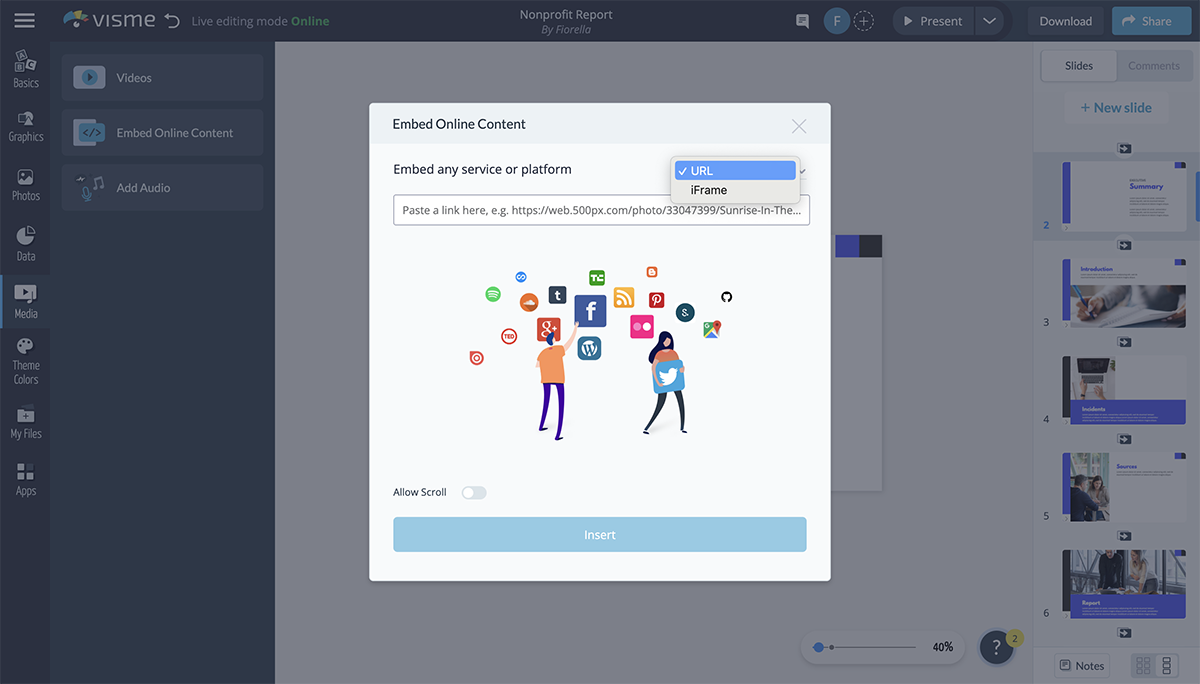
Step 3: Click on Embed and choose the source.
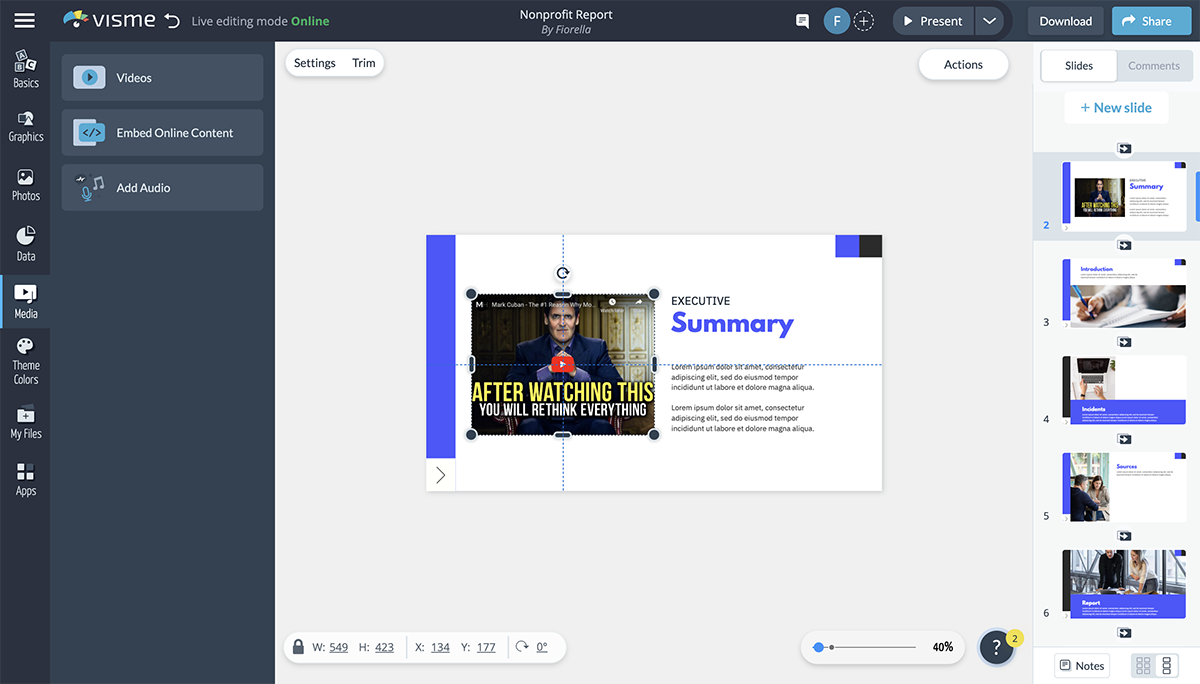
Step 4: Input the URL link for the video you want to embed.
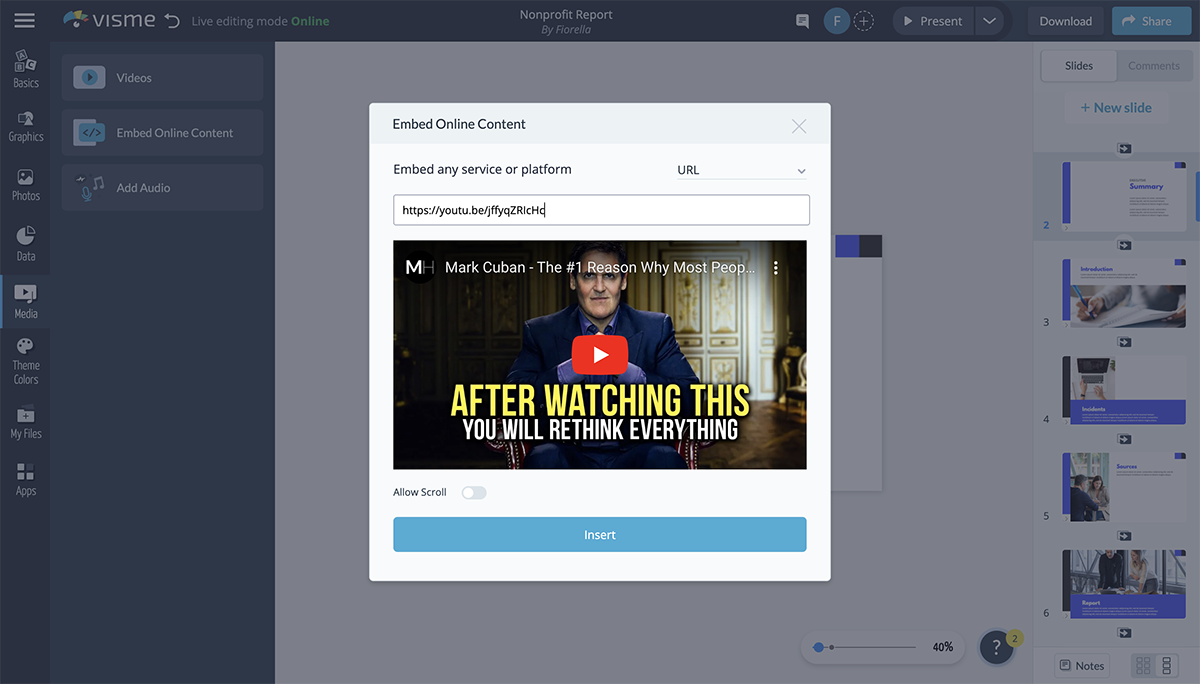
Step 5: Customize the appearance of the video and the start and stop times.
Not sure how to make a stunning YouTube video? Read this article to find out more. We’ve also covered proven tips and best practices for making engaging videos in this article.
To embed a video in PowerPoint, follow the instructions according to your version of PowerPoint and operating system.
This guide will share the steps to embed a video in PowerPoint on Mac and Windows using the newer versions of the software and operating systems. If you have earlier versions of PowerPoint (Office 2010 and 2013), visit the official Microsoft support site to learn how to embed videos.
Step 1: Open the presentation you’re working on in Normal view and select the slide you'd like to add a video to.
Step 2: Click the Insert tab, then Video, and select Movie from File.
Step 3: In the dialog box, Choose a Movie by selecting the file you want to insert. To embed the video on your slide, click Insert.
To put a link to the video on the slide, click Options > Link to file box, and then Insert.

Step 4: Customize and edit your uploaded video using PowerPoint's playback features.
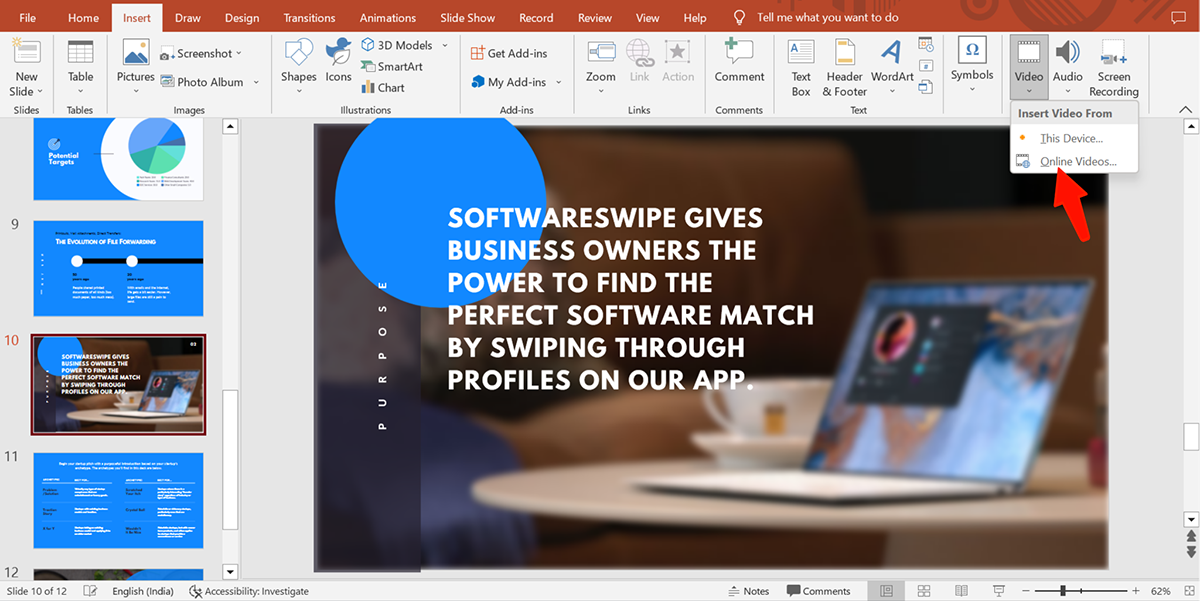
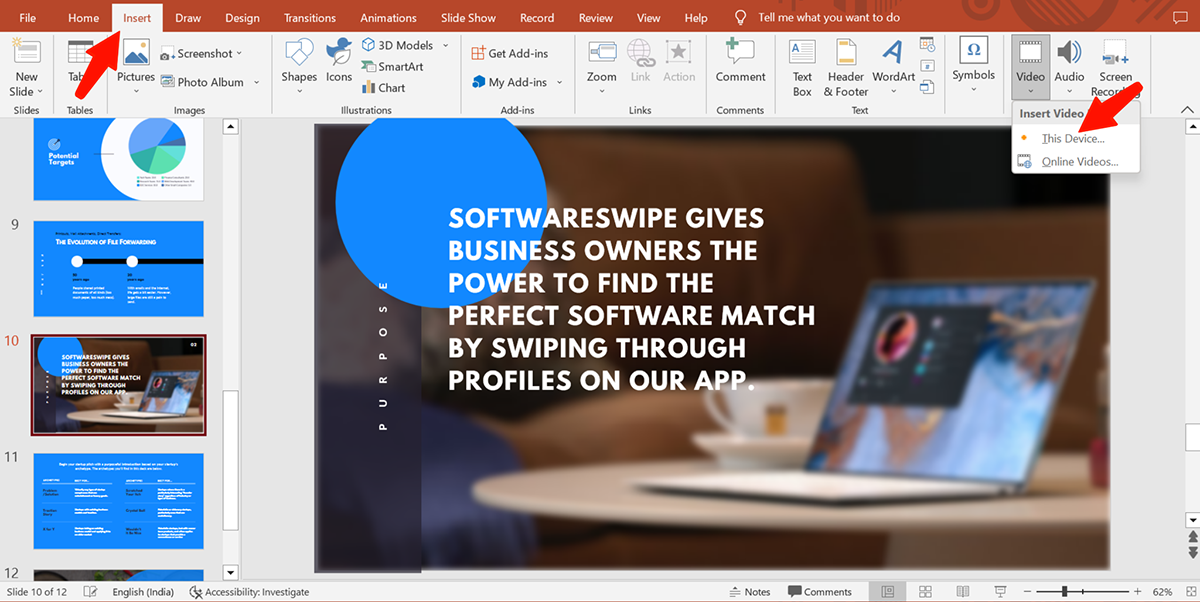
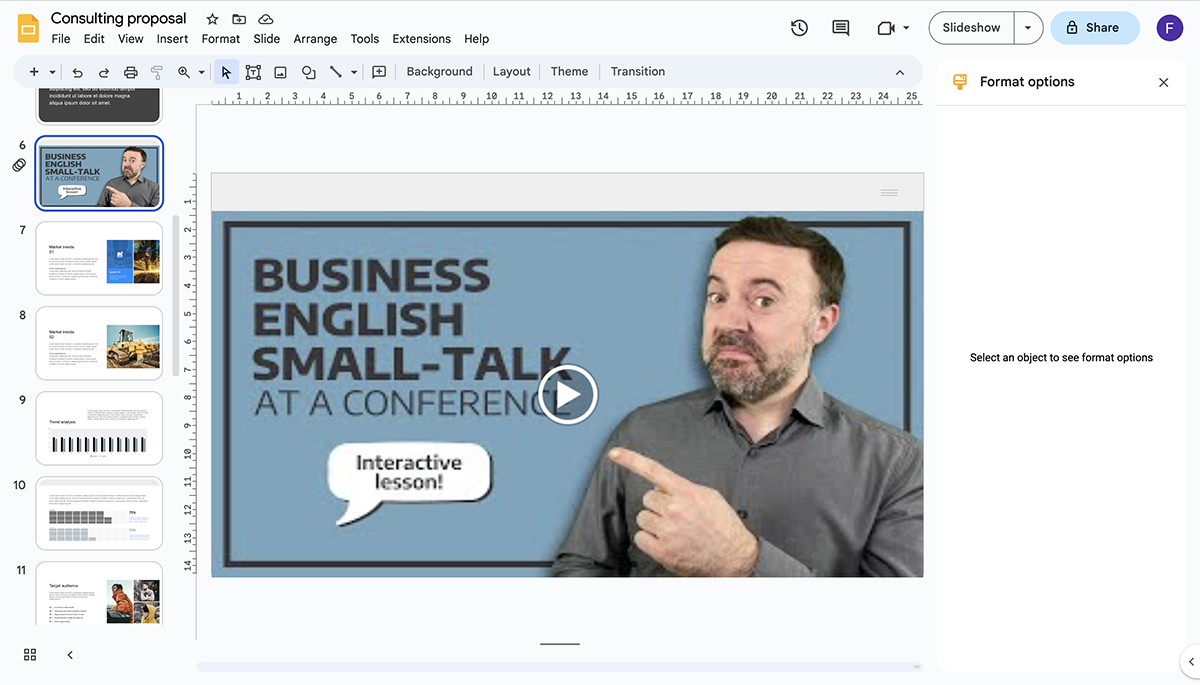
Here are the step-by-step instructions for embedding a YouTube video in PowerPoint:
Step 1: your presentation and navigate to the slide where you want to add the video.
Step 2: Click the Insert button in the top menu. In the Media group, select Video and then Online Movie.
Step 3: In the dialog box, paste the video’s URL.

Step 4: Click Insert.

Step 5: Click the Play button that appears on top of video to preview
To embed an online video in your PowerPoint presentation, your Mac must fulfill these requirements: PowerPoint version 16.15.18070902 or later, macOS 10.13.4 (High Sierra) or later and a Mac manufactured in 2012 or later
Step 1: Open a presentation in Normal view, and select the slide where you'd like to add a video.
Step 2: Click the Insert tab, then the arrow under Video, and select Video on my PC.
a. To embed the video on your slide, in the Insert Video box, select the video and click Insert.
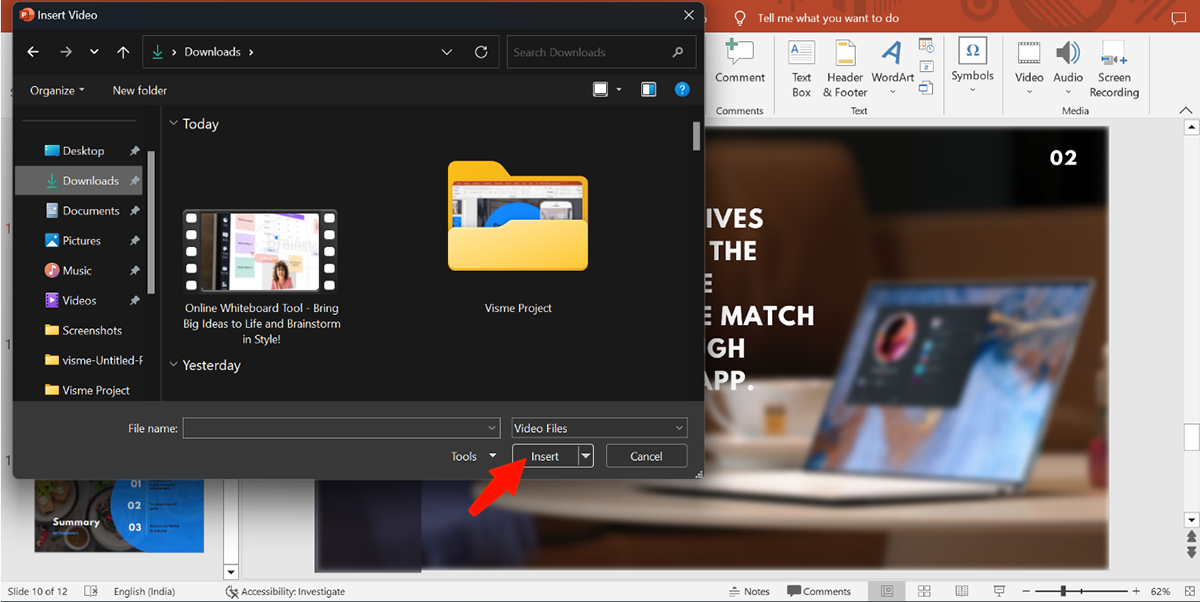
b. To put a link to the video on the slide, in the Insert Video box, click the video file you want to link to, then click the down arrow next to the Insert button, and click Link to File.
Step 1: Open your presentation and navigate to the slide where you want to add the video.
Step 2: Open the Insert tab in the top menu. Click Video and then Online Video.
Step 3: Paste the video's URL in the Onlive Video box.
Step 4: Click Insert.
Since Google Slides is an online presentation maker, the instructions are straightforward and will work on any computer connected to the internet.
Step 1: Log into your Google account.
Step 2: Open a presentation in Google Slides.
Step 3: Open the slide where you want to add the video.
Step 4: Click Insert, then Video.
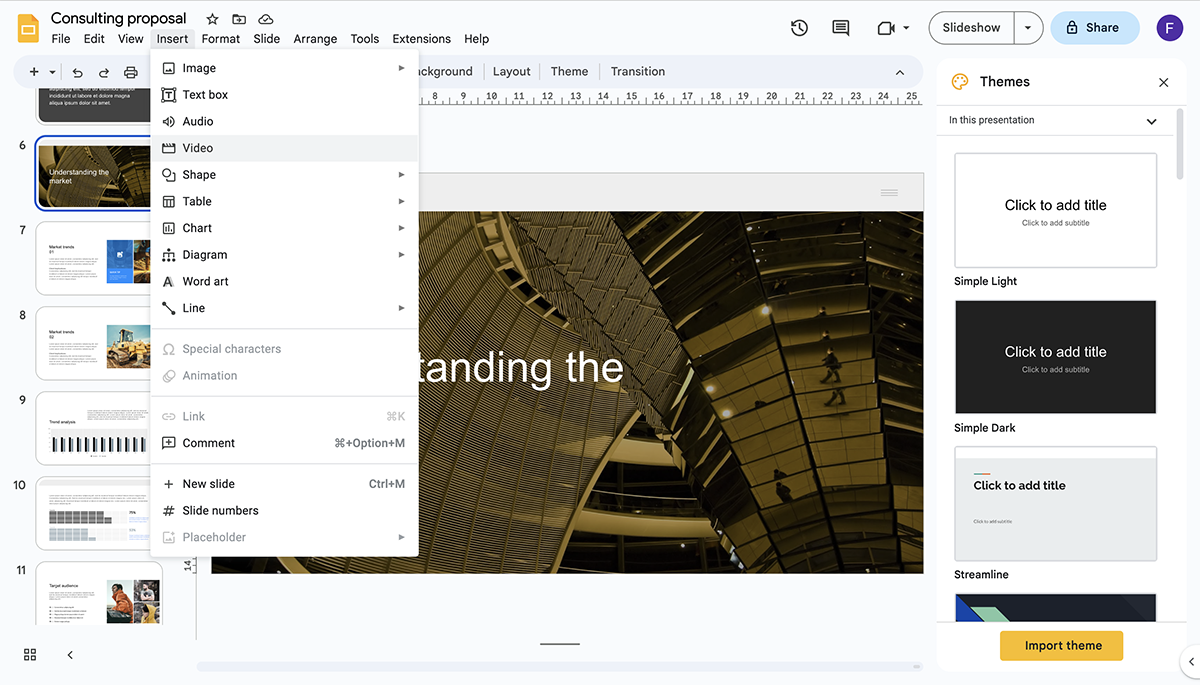
Step 5: Select a source:
Search YouTube

Step 6: Input your URL and Click Insert
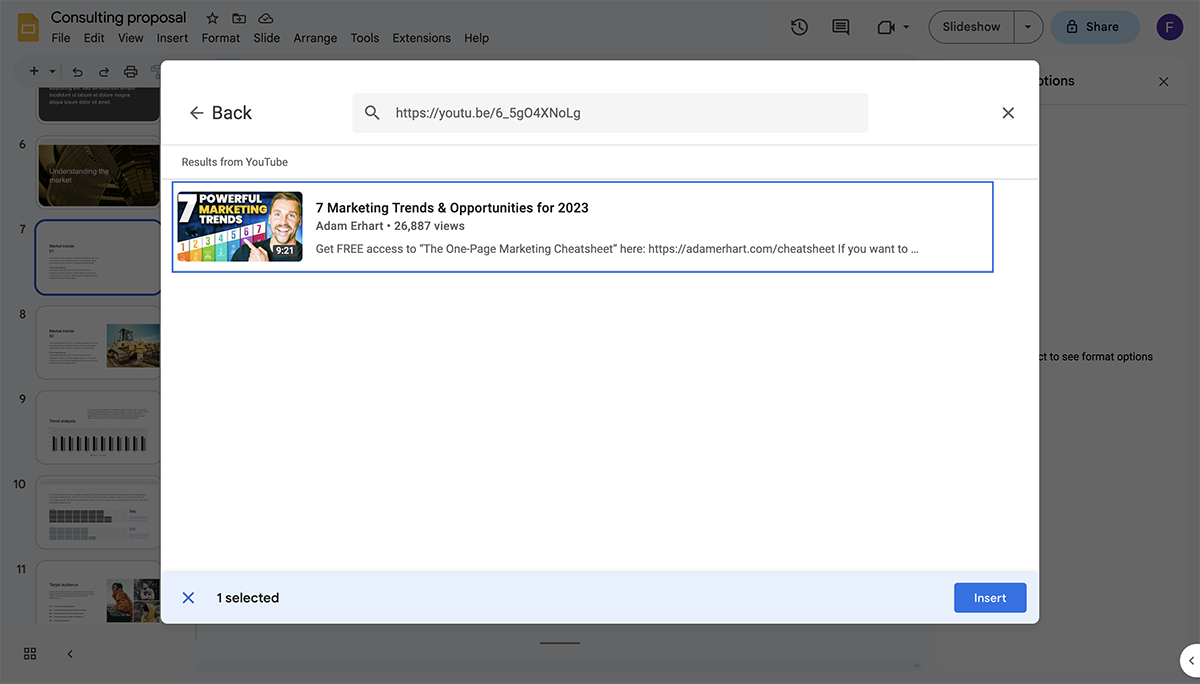
Step 7: Customize the video settings
There you go. Your video presentation should be ready for use.
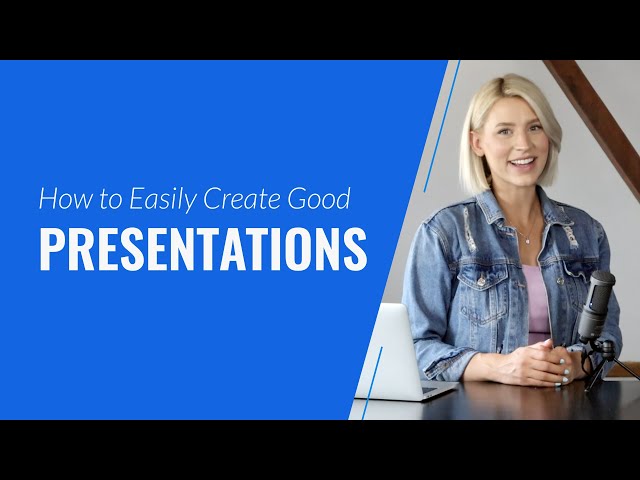
Ready to make your presentation shine? Watch this video to learn how to for creating professional and engaging presentations.
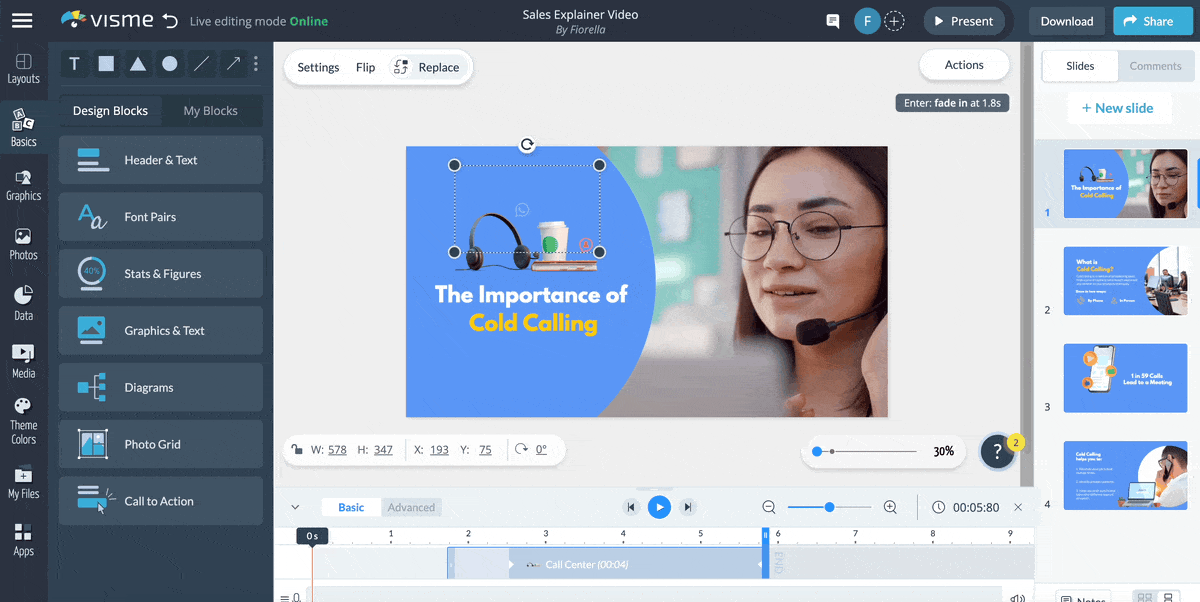
Not only can you add, upload and embed videos to Visme, but you can also create your own videos.
Whether you’re looking to create a video for social media, testimonial video or promotional video, Visme has everything you need. You can easily craft videos in different aspect ratios: rectangular 16:9, square 1:1 and vertical 9:16. Some of our video templates are available in all three sizes, making creating video content for your brand even easier.
Watch the video below to learn how to create stunning videos with Visme
You’ll learn how to edit your video timeline, add cool animations, download and share your video and much more.
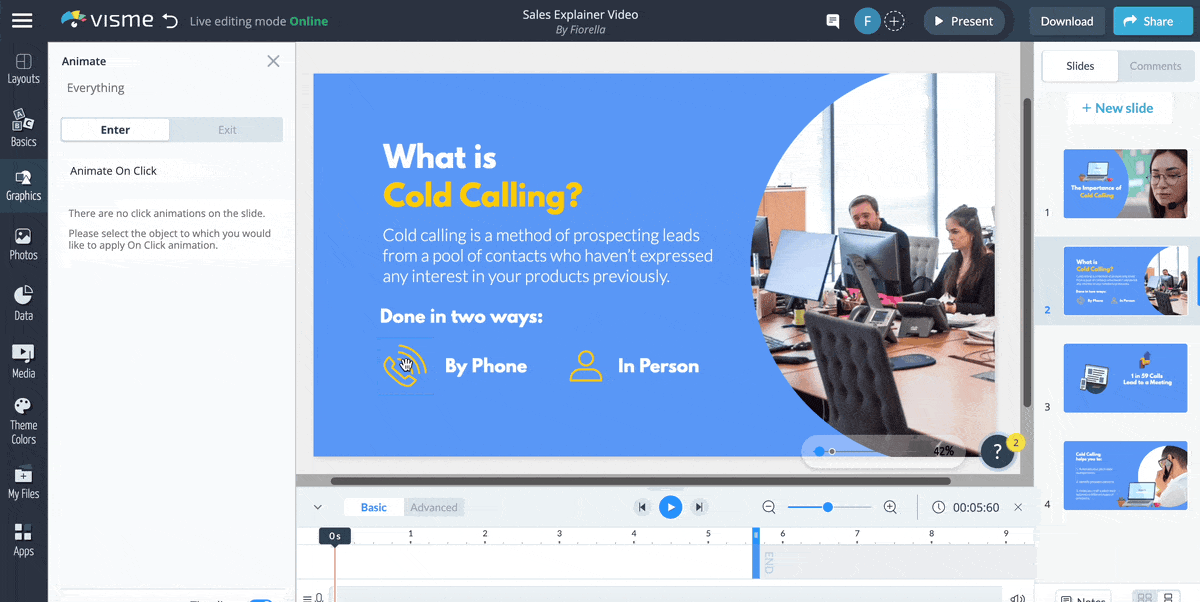
The overall steps to making a video are the same on any video-making software. But what makes Visme stand out during the editing stage are the solution-driven features for easy video creation that anyone on your team can master.
The easy-to-use drag-and-drop interface in the Visme editor makes video creation easy and fast. All elements from the left toolbar can be dragged onto the canvas and placed easily on the slides.
Even after an object has been customized with design settings like shadows or animated features like a continuous bounce, they can be easily moved around the canvas.
Interactive video is the next big thing in video marketing, and Visme can help your business get involved.
Combine interactive features with powerful video editing controls to create engaging videos that your audience can interact with. Incorporate hotspots with audio, video and popup elements into any part of your video by adding them to a relevant slide.
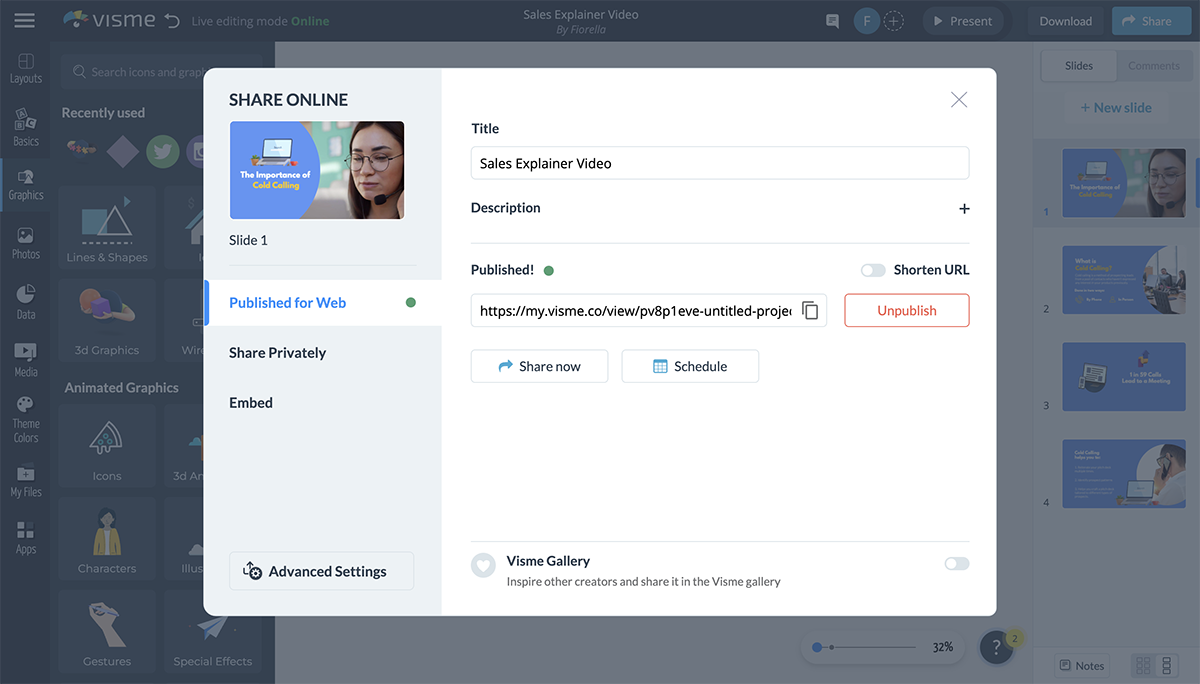
Share your interactive video with a link and track views, visits and viewing time.
Visme video templates are available in three sizes: rectangular, square and vertical. Create all three versions for the same campaign or content strategy. Share the same information on different platforms and reach three times as many people. Designs span from education to enterprise and everything in between.
When it comes to creating videos, animation is one of the most popular features. In the graphics toolbar, you’ll find a varied selection of static and animated icons, illustrations and characters. All their animated characteristics are customizable, from time in and out to character poses and repetitions.

Animated elements aren’t the only things you can animate with Visme. Add animated actions to any shape, object or text in your video. Select from a range of animated movements like bounce and rotate, along with speed, distance and time.
As soon as you add an animated element or action to a project, the editing timeline appears at the bottom of the canvas. Every slide (or scene) in your video has its own timeline. With the editing timeline, you can control every animated element, video and transition to the next slide.
Visme offers a variety of audio options for your videos and other content projects. All audio features are customizable and adjustable to fit your vision and brand guidelines. Choose from the audio options; you can use one or all:
Watch this video to learn how to add audio to your presentation or create voiceovers.
Don’t create your video in a silo. Visme Workspaces makes it easy for teams of all sizes to collaborate and get things done swiftly.
First you can keep all assets and deliverables organized inside designated workspaces. Then you can assign tasks and manage permissions for all team members in the workspace. When working on projects, team members can tag each other, leave or get instant feedback, comments, edits and suggestions with Visme’s collaboration features.
Video distribution is key to seeing a return on investment for your video production. When you create a video with Visme, you can easily download it as an MP4. But that’s just a tip of the iceberg. Here are other cool things you can do with Visme online video.
Showcase your company’s branding across all your project using our AI-powered Brand Design Tool. All you need to do is input your website URL and Visme will detect your brand elements and recommend branded templates that match your branding.
Are you seeking inspiration to create videos as part of your marketing strategy? Or maybe you’re looking for a way to make presentations more interesting when there’s no presenter? Do you need a series of branded videos for your company’s blog, newsletter, or sales stack?
In your Visme dashboard, you have access to countless video and video presentation templates. We’ve selected one from each category to give you an idea of the infinite possibilities.
Create a listicle video as microlearning content for blogs, digital documents, emails and social media. The animations on each slide create scenes that grab your attention. Animated icons illustrate the titles, and background videos visualize the tip itself.
This listicle video template can easily be customized to fit your brand and message. All animated icons have two colors which you can change easily with the color picker. Adjust the icon’s animation and motion to help tell your video’s story.
Testimonial videos are an ideal way to showcase social proof in client-facing content. When you create a video like this in Visme, you have several options for distribution.
This video uses a blurred background that brings attention to the box holding the quote. The subtle animations keep the viewer's gaze on the quote before moving on to something else. Pick the video that best suits your quote.
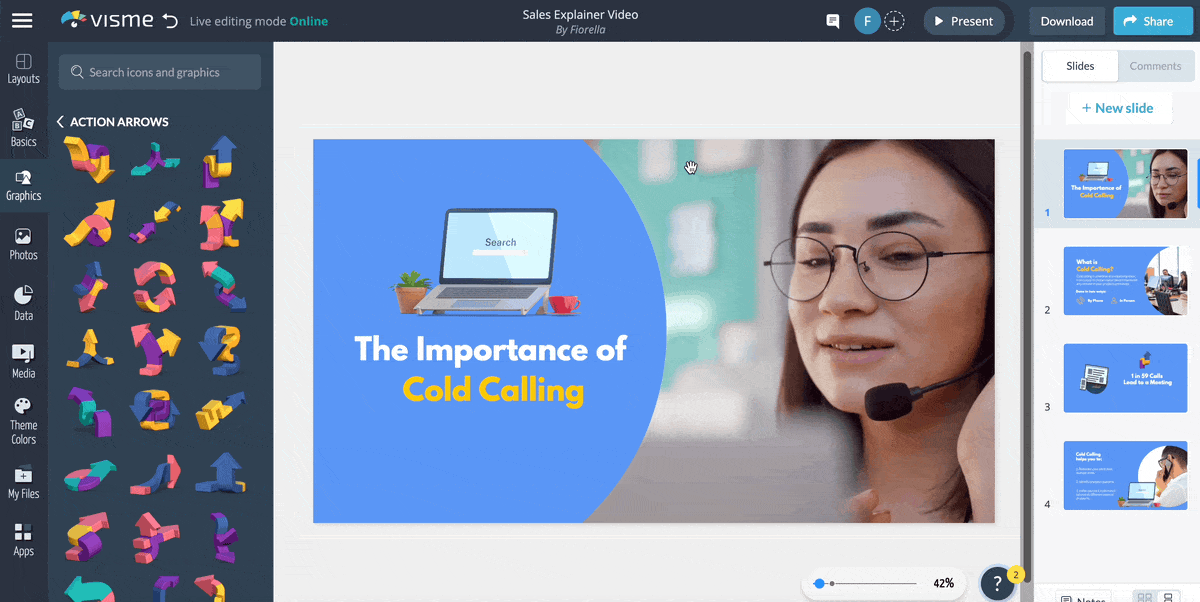
The best explainer videos are the ones that share precise information about a specific topic. Use this template to share impactful knowledge about your brand to inspire action from the viewer. The video on every slide creates a visual union throughout the deck. A design technique you can take advantage of with your brand videos or any stock video in our library.
Include explainer videos on product or service pages to deepen connections with prospects and clients. Then use problem/solution and storytelling techniques to cue their emotional response.
Use this template to create YouTube video ads to reach more people with your brand message.
Use interactive elements in your video ads to make them engaging and attractive. This will help keep the viewers' mouse away from the “Skip Ad” button. A balanced combination of foreground images with text and bouncy animated backgrounds does a great job of keeping people watching until the end.
Be sure to craft a call to action with the perfect combination of copy and visuals. Then add a music clip that doesn’t distract from the content.
Promote an upcoming webinar with this teaser trailer video template. The minimalistic animation style on the slides is a simple way to bring attention to the teaser for your webinar. The background videos have a dark color overlay to make the white serif font pop as it enters in animation.
With Visme’s social sharing, you can publish the video on social media and start creating hype around the event. Start the video with a good hook and bring it all home with an engaging call to action. Invite people to register for a seat at your webinar, collect email sign-ups and generate valuable leads for your business.
Share product videos on social media to increase brand awareness and hype. Show how your products can change a person’s life through emotions and relatability. The colors, fonts and images inspire attention to your products.
Use your brand kit to customize fonts and colors. Mimic the template to create eye-catching compositions with cutout photos over bright or subtle backgrounds.
Why stick to business presentations when you can create a business video? Use this recruitment template to bring in the best candidates to join your corporate team. Share the video in a job posting, on your LinkedIn page and other recruitment platforms. Stand out by including engaging recruitment videos on your website’s careers page.
This video template has contrasting colors in a horizontal layout with circles in the foreground. Circle-framed videos complete the composition. Simply input your content into the placeholders and finalize the video.
Does your video need an intro? Create captivating intros that grab your audience's attention using the template below. The overall design of this intro is the same as the outro in the next example. They fit tog
Put your brand front and center by visually unifying the intro with brand colors, fonts and backgrounds.
Sign off like a pro and create a lasting impression on your audience using this template. Use the Visme video editing features to edit animated elements on each slide. The easy drag-and-drop slider helps you create perfect videos every time.
A presentation is great and a video presentation is relatively better. But the clear winner is the interactive video. With Visme, you can create all three and any other visual content for your business.
Supercharge your brand content creation with the full-scale feature set inside your Visme dashboard. Create visual-rich presentations, videos, infographics, training material, surveys, data visualizations and much more.
Sign up for a Visme subscription and give your team the tools to succeed.
Design visual brand experiences for your business whether you are a seasoned designer or a total novice.
Try Visme for free