


Demographics Examples & Insights for Better Marketing

Your blog graphics are important. They capture attention of new readers and keep them reading throughout your content.
In this post, we’re going to cover more about why your blog graphics are so important, graphic sizes you should consider, how to create stunning graphics in Visme and some must-know design tips.
Before you dive in, watch this video to learn how to design like a professional graphic designer–no experience needed.
Your blog graphics help promote your content and get new readers on the page. However, it’s also important to include graphics throughout your blog post to break up your text and further engage your reader.
While creating an initial blog graphic design may take some effort, once you have a design in place, you can reuse the same template for other blog posts.
By sticking to a template, you establish a brand that readers can instantly relate to with your blog.
Not only do you want to grab reader attention, but you also want to entice readers to consistently return for more content as well as click through your blog posts to sign up for services or purchase a product.
A well-designed blog graphic can do that.
While you have full control over how you display images on your blog, there’s little say over how social media platforms like Facebook and Twitter present your links.
That’s why it’s important to understand optimal social media image sizes so you can create graphics accordingly.
Best practices dictate that you should create a variety of blog graphics that range from slightly different designs to different sizes so you can share optimal sizes on each platform and see which designs perform best.
You can also design several graphics in one go and then schedule them for your Instagram or other social media accounts.
Here are the most popular sizes you’ll want to create blog graphics in:

Sign up. It's free.Create any type of promotional graphic with Visme!
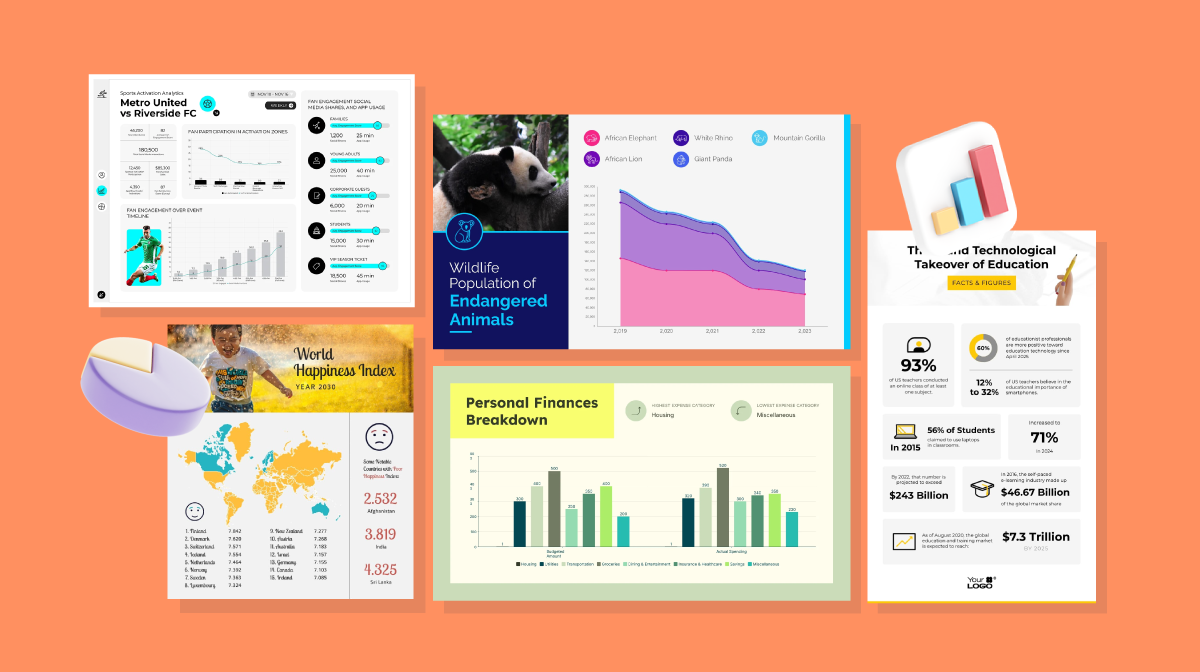
Don’t forget how I mentioned that it’s important to create graphics to visualize pieces of content throughout your blog.
Those can be any size, from infographics to square graphics to horizontal, 2:1 ratio graphics, or whatever works to represent your content visually.
Ready to start creating your own blog graphics? It’s never been easier than with this quick how-to guide and Visme’s intuitive design interface.
Let’s walk through our quick 6-step process on how you can design your own blog graphics that drive clicks and conversions.
The easiest way to start creating a blog graphic – especially if you’re coming here with little to no design skills – is to simply get started with a template.
Visme’s template library has a vast selection to choose from, whether you go with one of our blog graphics or decide to browse our social media-specific graphics instead.
Start browsing our template collection below.
The next step is to choose your colors for your blog graphic. While you can of course keep the colors that came in the template, it’s a better idea to match your graphic to your brand colors.
Visme’s dashboard comes set with a few preset color palettes that you can play with, as you can see below.

But the best option is to utilize the Brand Kit available with business plans to set your own preset color palette based on your brand colors. This way you can match templates to your brand with a single click.
Otherwise you can easily use the color wheel tool to input your own hex colors or find a color you love.

The next step when creating your blog graphics is to input any text and select the fonts you want to use.
For promotional blog graphics, this will likely be your blog post’s title. Otherwise, you might be incorporating micro paragraphs alongside icons, data visualizations or images.

You can choose from any of Visme’s available fonts or upload your brand fonts or other fonts of your choosing to your Brand Kit so you can create a cohesive look through your blog graphics.
If you upload your own images, they’ll appear at the top of your font list for easy access.

While you can always keep your look simple with an opaque background, Visme also offers a stock photo library with over 1.5 million images you can use within your designs for free.
Use the search bar to find a photo relevant to your blog post’s topic and drag it onto your canvas.
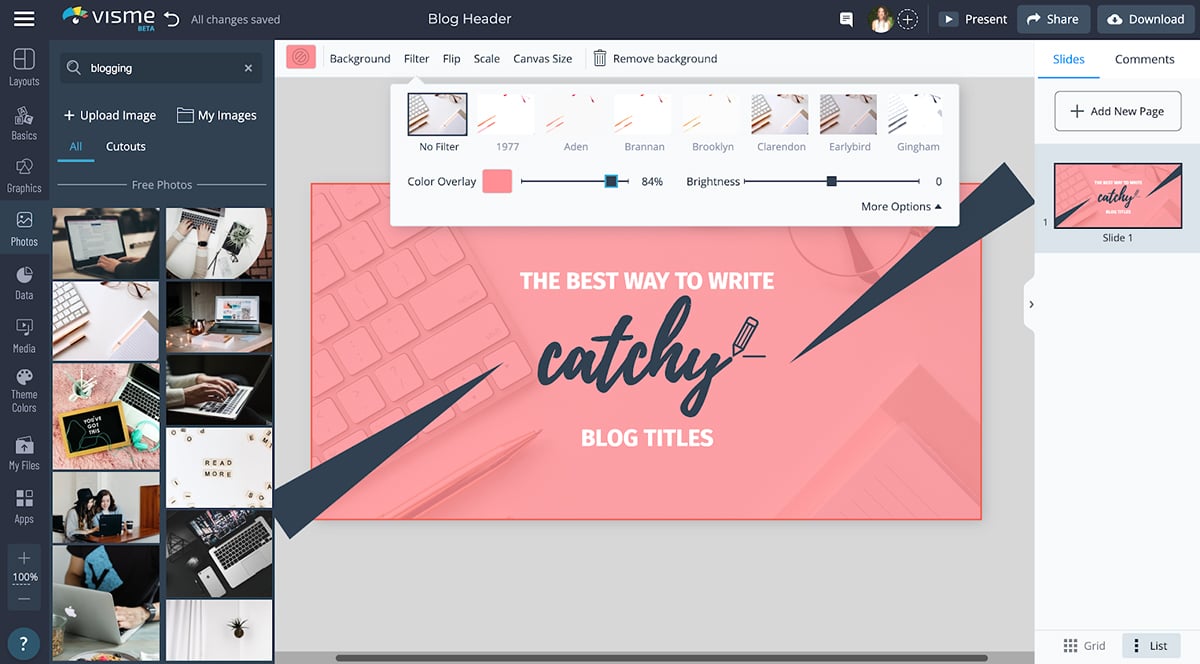
Add a filter or color overlay to your background photo so that your text still stands out and is prominent enough for your audience to immediately read what your blog post is about.
You can also choose to create a collage with a variety of images for your blog post as well if that would better represent your topic.
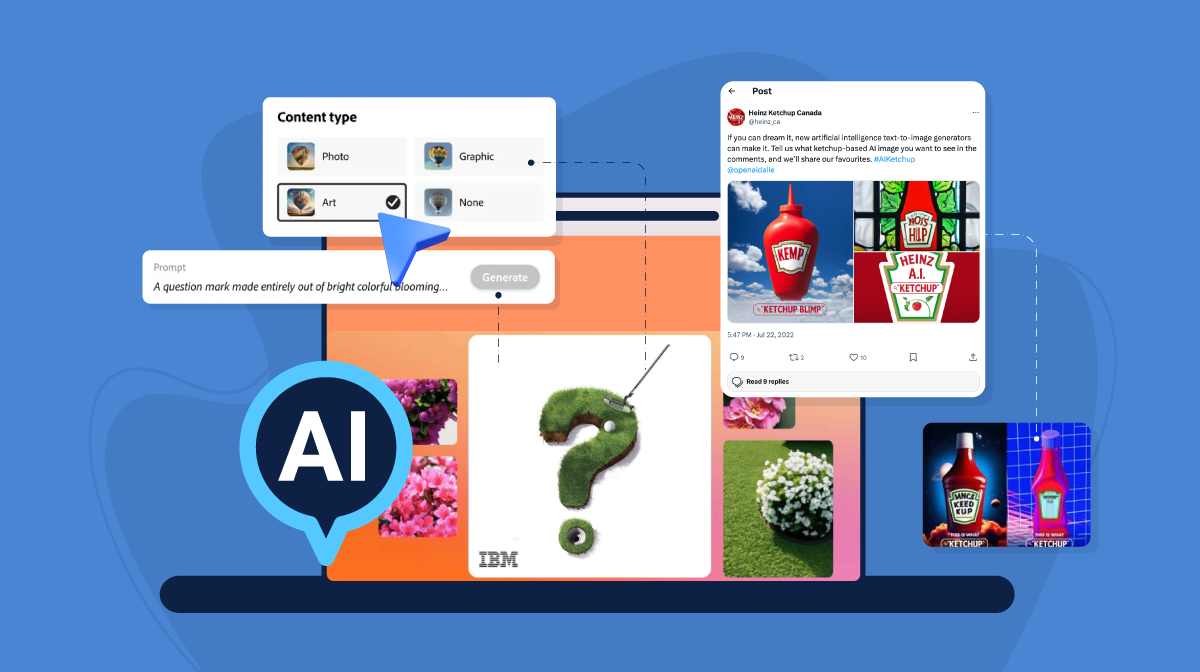
As a finishing touch, search Visme’s library for an illustration, character, icon, shape or other design element that will help your blog graphic stand out.
Click the Graphics tab in the left sidebar, choose the type of element you want to add in, then search through the various categories to find one that works best for your blog post.
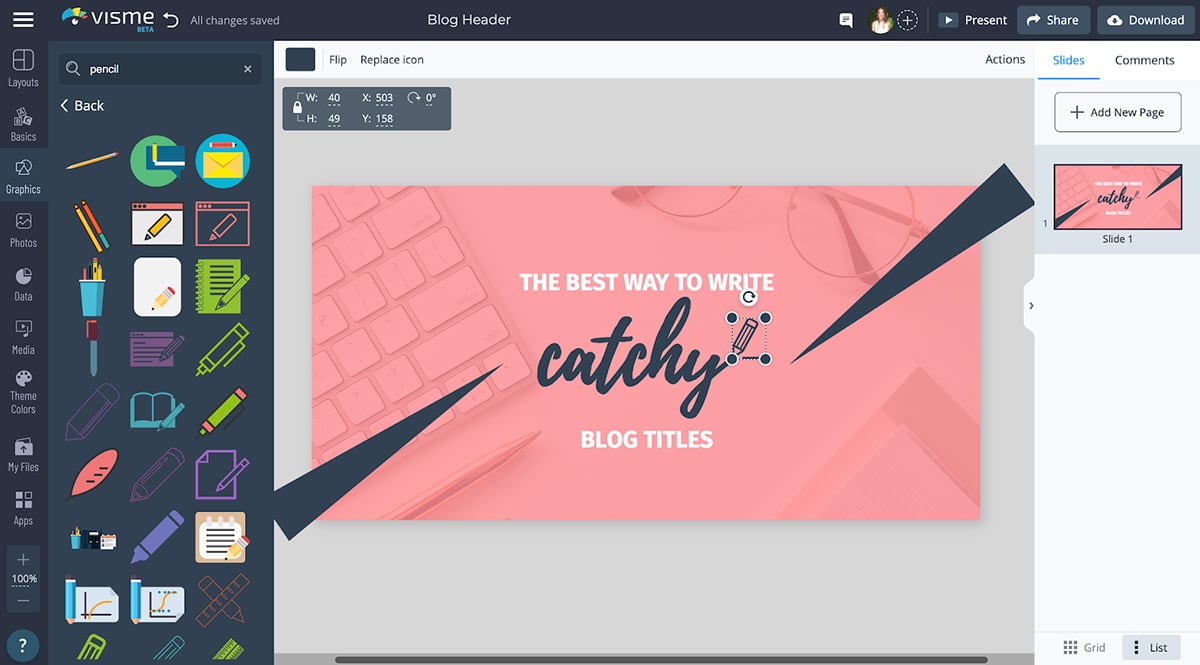
Once you select your element, you can easily change each color inside to match your brand and your design.
And if you decide to incorporate animated elements, you can choose how often the animated occurs, character poses and more to fully customize the look of your blog graphics.
Once you have the perfect blog graphic design, click Download in the top right corner to generate a high-resolution image file of your graphic.
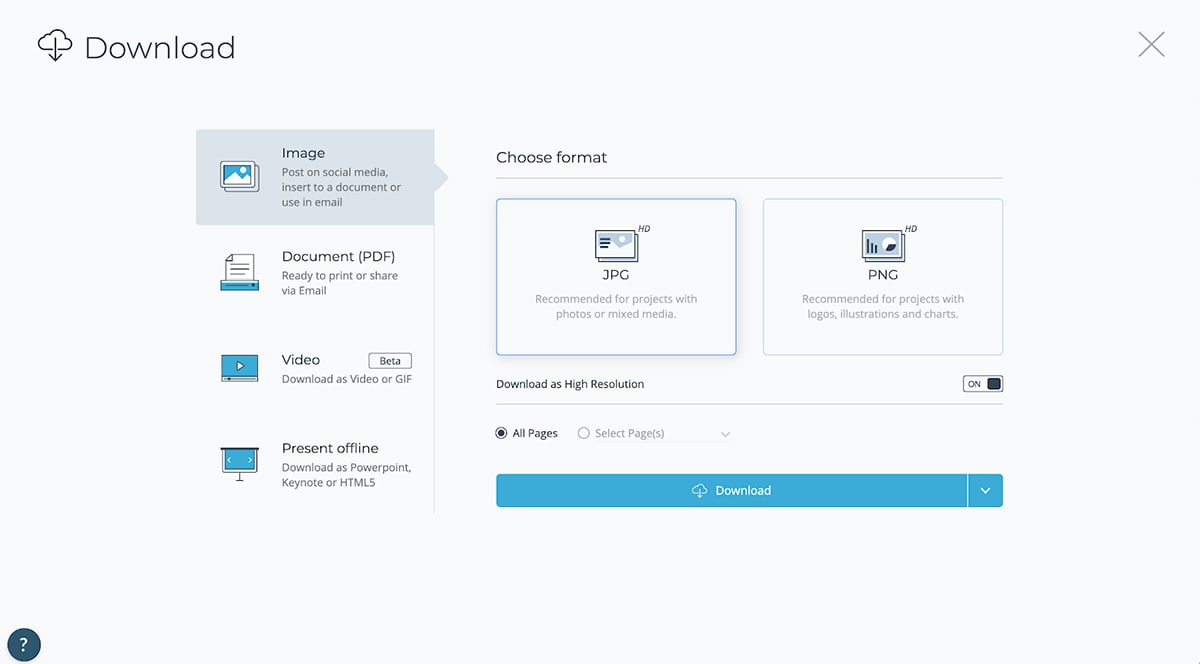
If you’re downloading an animated graphic, head over to the Video tab to download as a GIF and upload to your blog post as a featured image or to incorporate visual content within your written content.
If you really want your blog graphics to stand out, you need to make sure they’re visually appealing and well-designed.
And the best part is that you don’t have to be a professional, trained designer in order to make that happen. With Visme’s intuitive design editor and these design tips, your blog graphics are sure to wow your audience.
Creating a strong brand identity is key to brand recognition and customer retention. This is why creating a few similar designs and using them as reusable templates is an ideal best practice.
Take a look at this Pinterest profile. While there are several different designs to her Pinterest graphics promoting various blog posts, they all have the same branding, helping to create a cohesive look and feel on her profile.
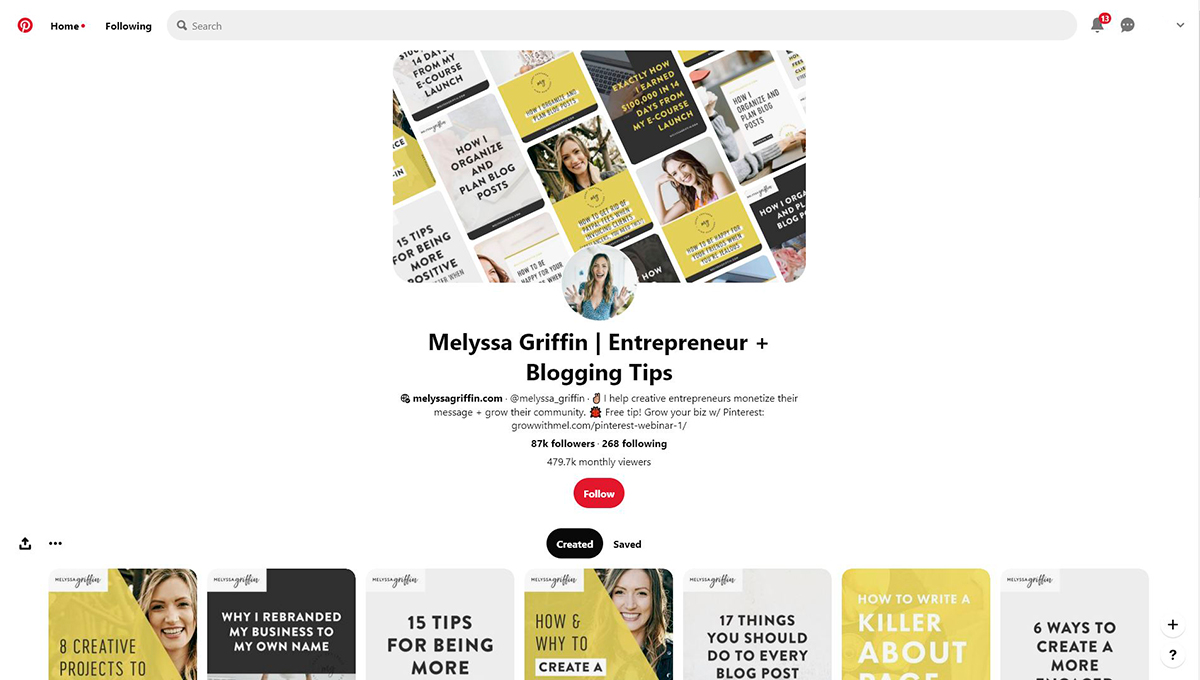
Not only does this help with brand strength, but it also makes your design process easier. Now each time you create a new blog post, you don’t also have to come up with a new blog graphic design.
Instead, you can simply utilize one of your pre-designed templates – made even easier by starting with one of Visme’s pre-designed templates – and make minor tweaks until it fits your new blog post.
Here’s a great example of a template you could customize to fit your blog content.

Your blog post graphics are meant to grab attention and not be overbearing or cluttered. Using too many colors can easily cause this to happen.
That’s why it’s a good idea to stick with one dominant color. Even if your brand colors consist of two to three colors, pick one to be the focal point of your blog graphic.
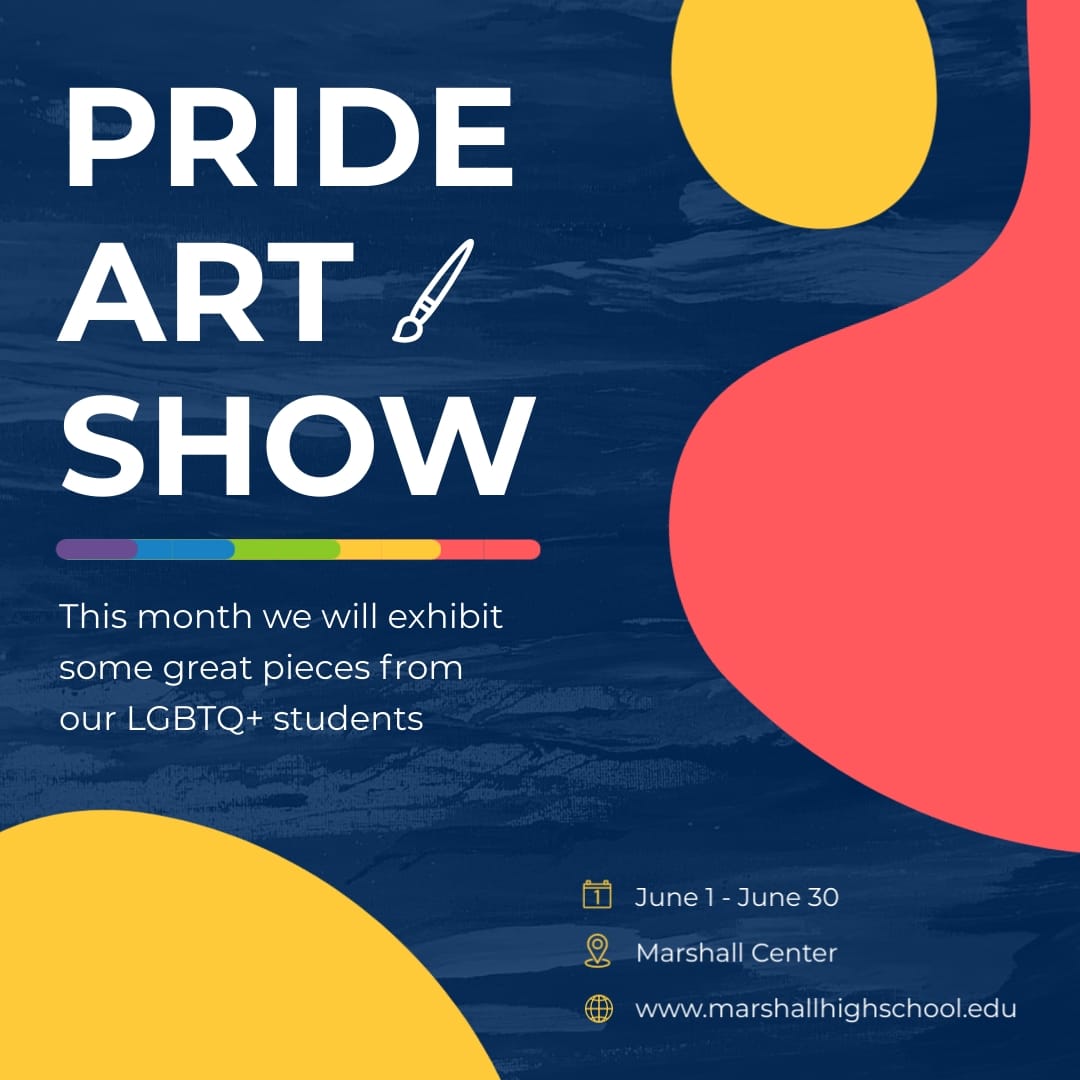
Take a look at this template below. While it still incorporates some white and yellow to offset the dark background, it has a single dominant color throughout the background, making it easy on the eyes.
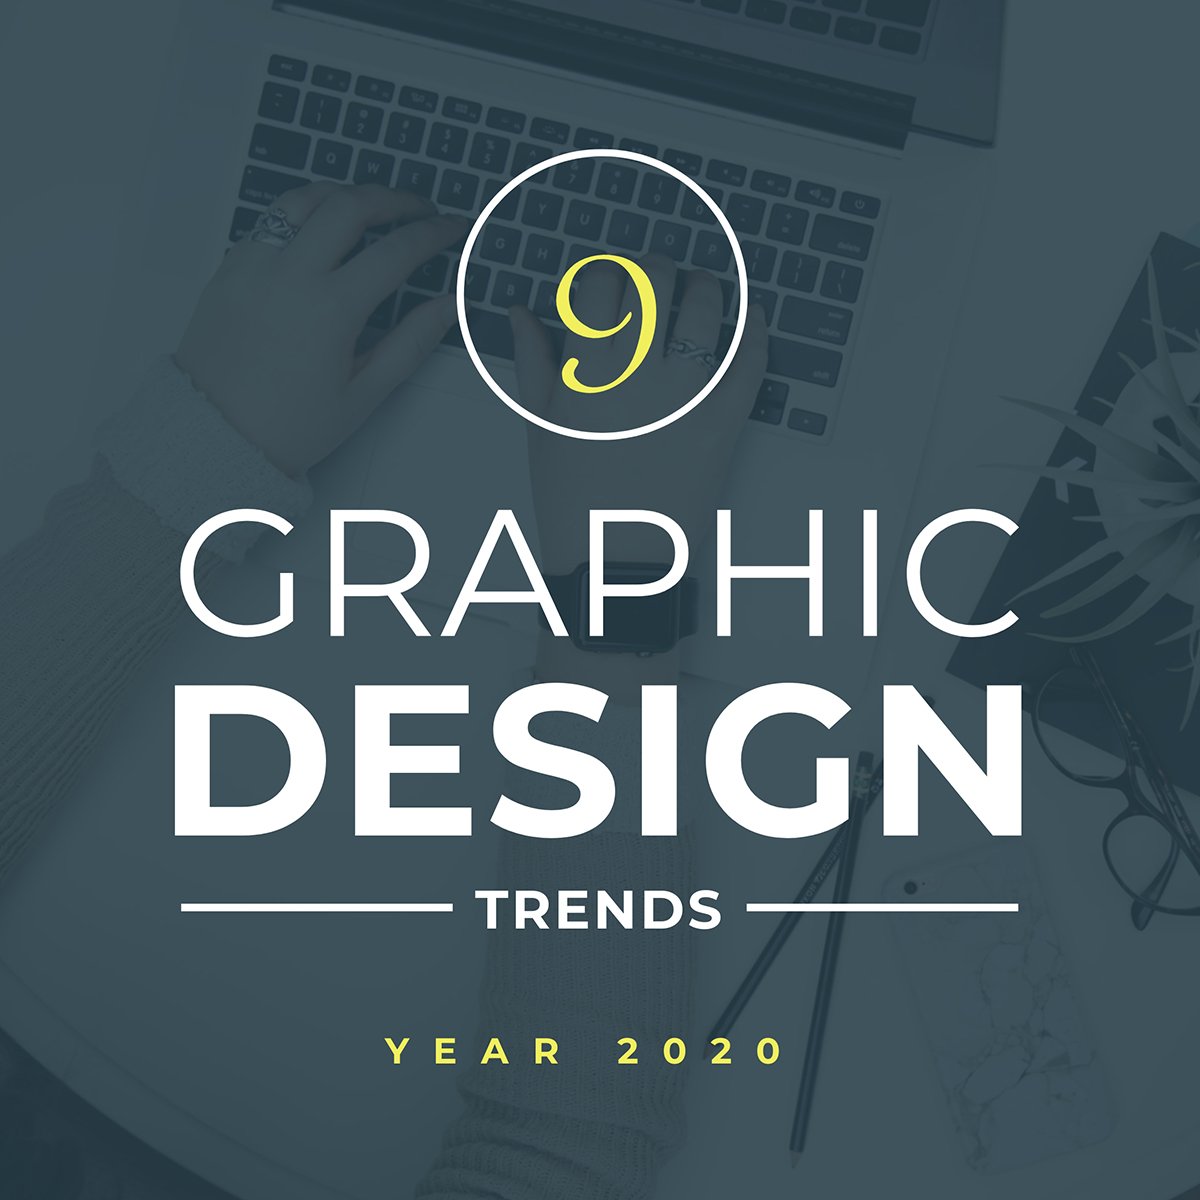
You can easily customize this with your own blog title and colors and store it in your Visme dashboard to reuse again and again.
Sign up. It's free.Create your own graphics and apply custom color schemes.
If you choose to incorporate stock photos into your blog graphics, make sure to use unique ones that you haven’t seen in use before.
There are many trendy stock photos that pop up and all of a sudden you see them in nearly every blog’s promotional graphics. Don’t let that be you.
Visme’s selection of over 1.5 million stock images should help you find a vast array of unique, never-seen-before stock images that fit perfectly with your content.
You can use images as your background with a color overlay, or you can incorporate them more creatively as you see in this template below.
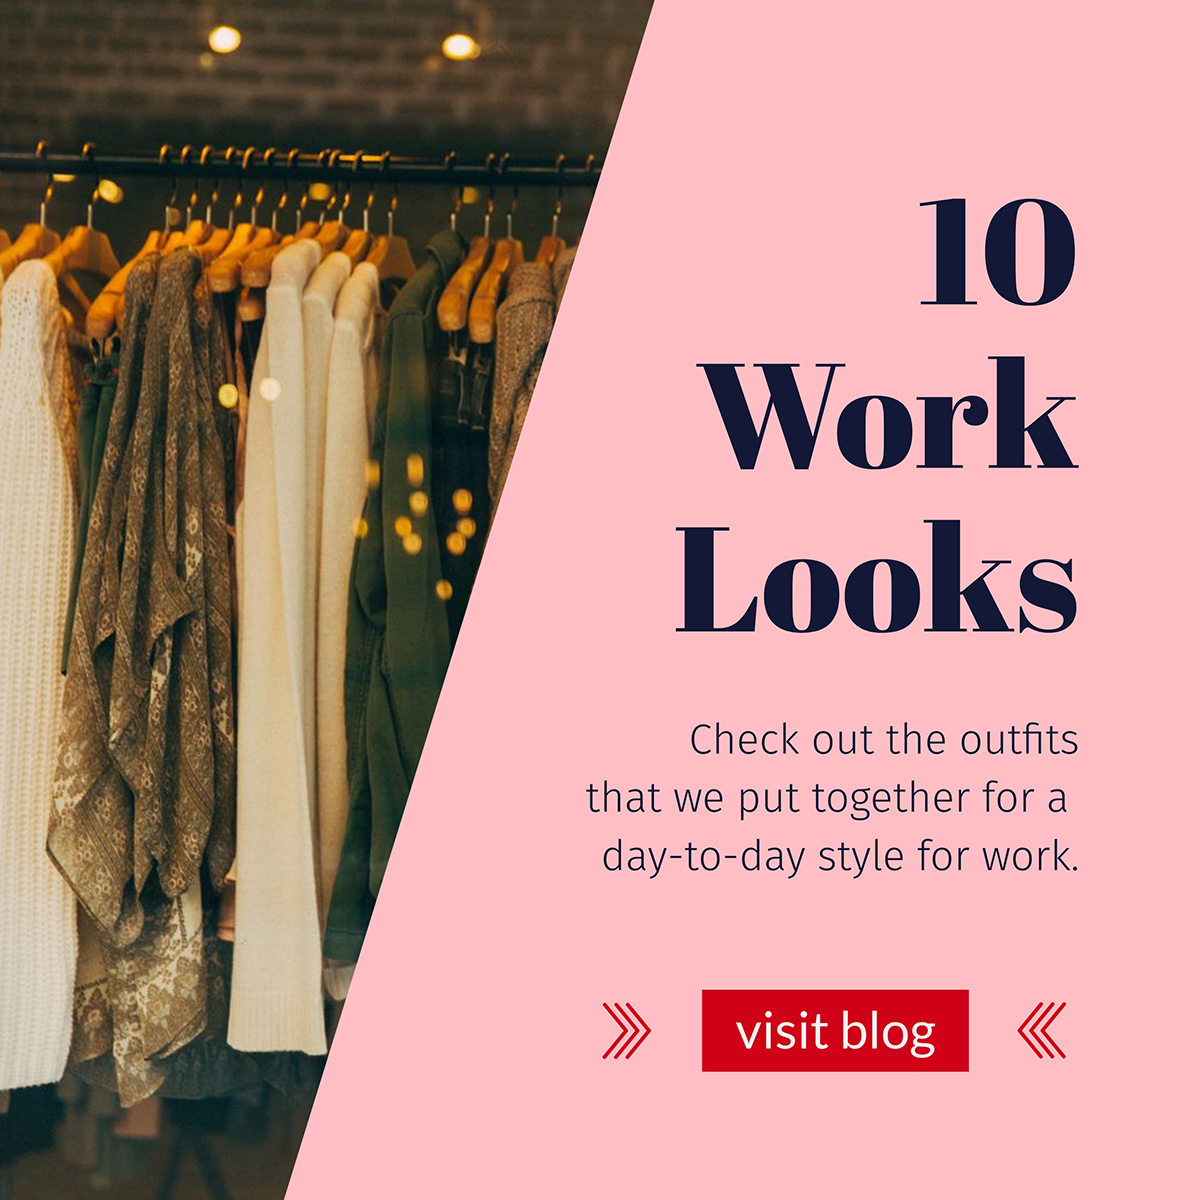
Just be sure the photos you choose make sense with your topic and your brand, and that they match your brand colors.
And if you want to create even more unique blog graphics, consider taking advantage of Visme’s exclusive icons, illustrations, characters, shapes and more.
Shapes can be used to emphasize parts of your blog title and illustrations are a great way to visualize your topic as opposed to using photography.
Here’s an example of what this could look like for your blog posts.
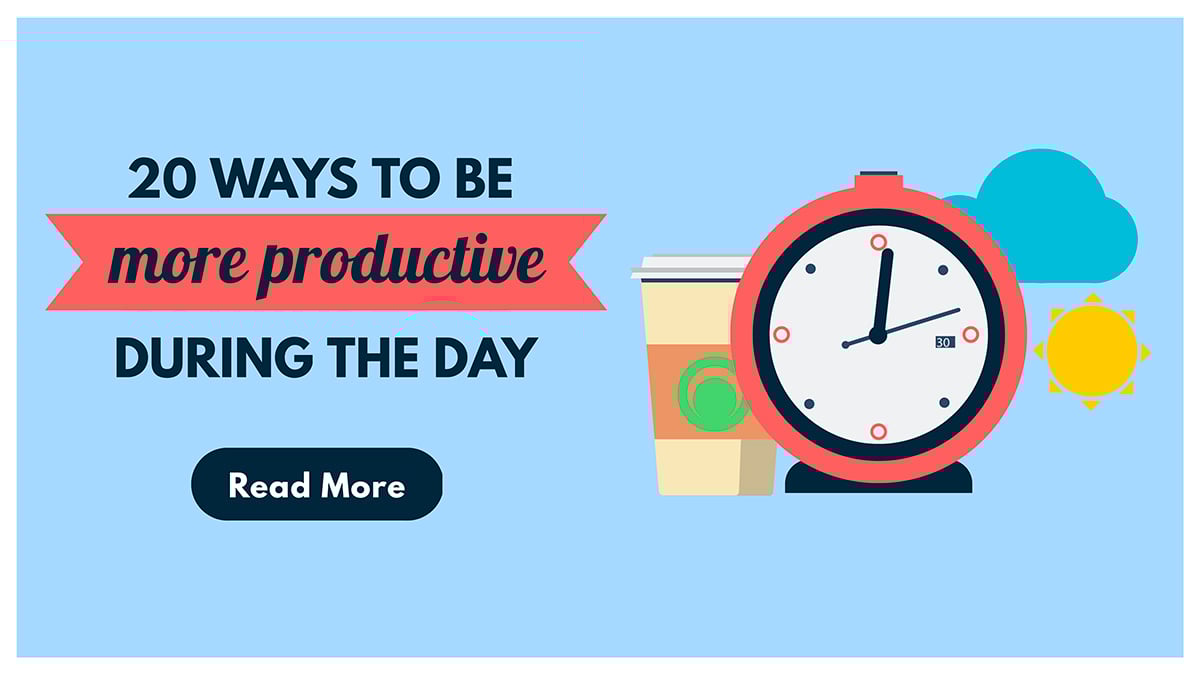
Visme’s illustrations come in a variety of different categories, meaning you should find plenty to help represent your blog topics.
Whenever you create an in-post graphic to visualize your content – you’ll see us do this constantly in our blog posts here at Visme – be sure that your dominant color and font choices match throughout the post.
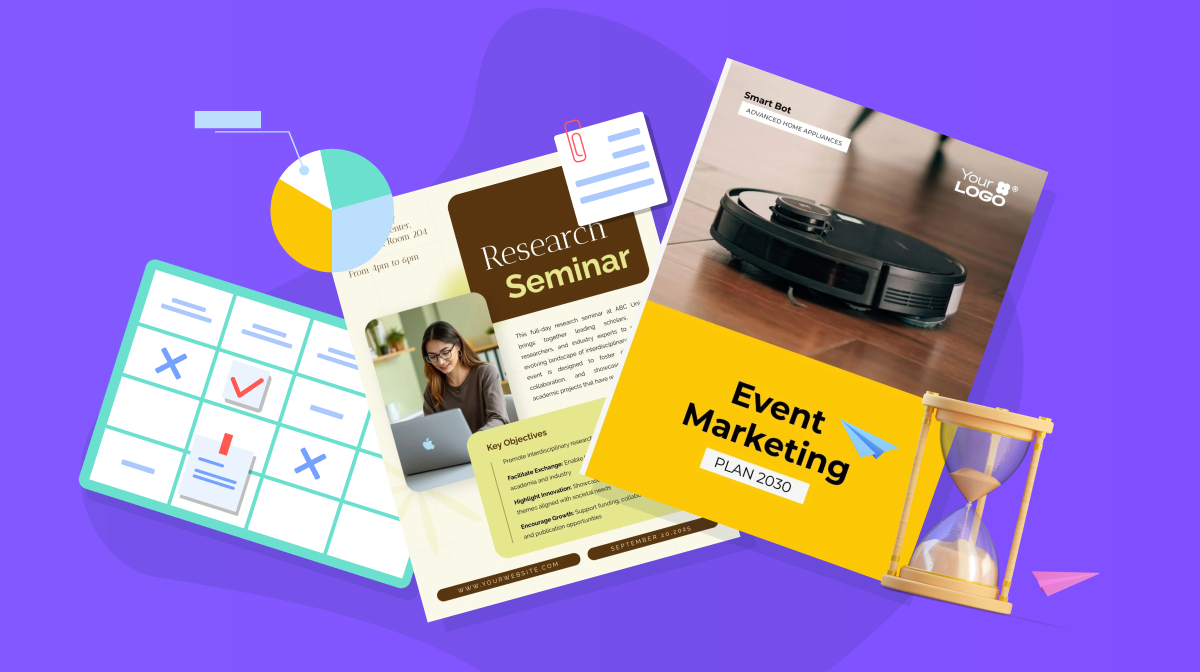
Take a look at these three templates below and how well they go together. Matching up your in-post graphics helps create a cohesive feel and makes the post feel purposeful and strategic.

You can easily customize various templates to match colors and fonts and help strengthen your visual brand through your blog.
Blog graphics are an essential part of any blog post, both for promotional purposes and to break up large bits of text with visuals. Start creating your own stunning blog graphics today to increase readers and ensure people click through to your site.
Design visual brand experiences for your business whether you are a seasoned designer or a total novice.
Try Visme for free