The Best AI Sales Tools for 2026 and How to Choose Them

Are you looking to enhance your data collection or lead generation strategy? Start using responsive web forms. They provide a seamless user experience on any device.
However, coding responsive forms can be time-consuming. That’s why you need an easy-to-use, no-code tool for creating responsive forms quickly. We have a suggestion, one you will appreciate regardless of whether you’re tech-savvy or completely new to form creation.
In this guide, we’ll teach you how to create responsive forms with Visme without coding and share some inspiring examples to fuel your creativity.
A responsive form is a dynamic web form designed to adapt its layout and functionality based on the user’s screen size and device. Unlike traditional forms, they don't become distorted or difficult to use on small screens. Responsive forms ensure a seamless user experience across desktops, tablets and smartphones.
Here’s an example of a responsive form template. As you can see, the elements in the desktop view stack up to fit into the smaller screen. Here, the 3D character moves from next to the card to behind the card.

According to our research study, Visme’s responsive forms with 3D characters produced two to three times more completed forms overall. The split test on over 700k visitors also showed an over 50% reduction in cost per acquisition and up to a 67% reduction in abandonment.

There are numerous benefits gained from using responsive forms. Here are some of the most noteworthy:
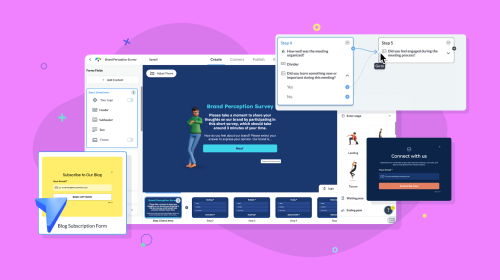
Visme offers a free online form builder that allows you to create different types of forms, including:
The beauty of Visme Forms is that you don't need to write any code. This tool not only saves you precious time but also allows you to create responsive forms that increase form engagement and boost lead conversion by 40%.
Creating a responsive form with Visme Forms is easy and intuitive. All you need is a Visme account and you can create beautiful, interactive forms that convert.
All forms created with Visme are responsive by default; no coding is necessary. As you design your form, you can preview it in desktop and mobile formats to ensure it’s compatible across multiple screens. Here's a quick tutorial on how to create one in Visme:
First things first, log in to your Visme dashboard and click the Create New button. In the dropdown, select Forms & Surveys.
A window will open with six options to choose from: newsletter signup, lead magnet, contact form, event registration, custom and account signup. Pick the one you need, and a new screen will open with a collection of templates for your selected form type.
If you change your mind about the form type, you can switch using the menu at the top of the screen. Choose your template, and enter the Visme Forms editor.
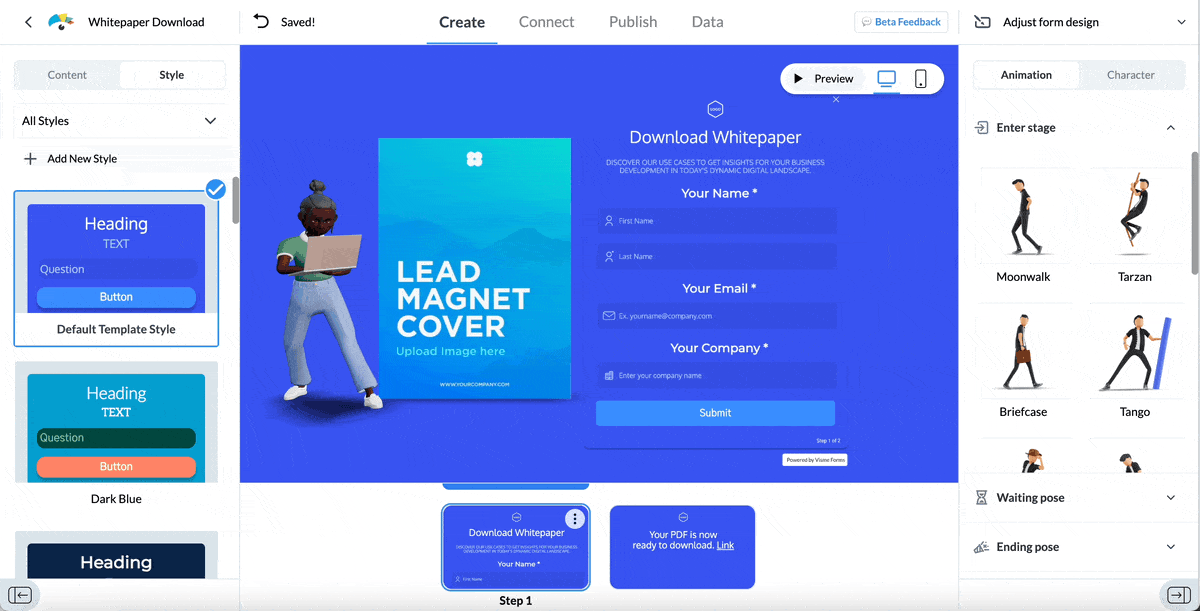
Once inside the editor, your template is ready to customize.

On the left-hand toolbar, there are two tabs: Content and Style. These tools help you customize the form to fit your needs, both in looks and functionality.
Additionally, the bottom bar shows the cards that make up your form—the one selected will have a blue line above it.
The Content tab shows all the properties and fields included on each card. When you select a card, its properties appear in the toolbar. You can adjust the content in the editor by clicking on its label in the Content tab or in the editor itself.
Each form includes an Intro/Question card and a Thank You card with a set of elements you can toggle on or off. Add more cards by selecting one or more form fields. Click on the Add Field button and choose one from the dropdown.
Each new card will show up in the Content tab, labeled as a step and showing what fields it holds.
Edit card properties and form fields by selecting the card in the bottom bar and customizing it using the tools in the Content tab.
The Style tab offers a selection of pre-designed form styles in varying colors, font types and button shapes. Click on any style to see it reflected on your form.

Use the style editor to create beautiful CSS forms without having to deal with code. All elements in your form are customizable inside the Style tab, thanks to CSS styling features.
Open each element’s CSS style properties by clicking on it in the Content tab. When the pencil icon appears, click on it and use the options in the dropdown to personalize the color, font, size and corner radius.
Additionally, in these settings, you can toggle the background between fullscreen or only covering the form.
Add branded styles easily. In the Style tab, click New Style, select your brand colors and fonts first and then personalize the overall look. To expand your brand beyond forms, use Visme as your brand assets manager and toolkit.
Start with the Brand Wizard and extract brand colors, fonts, and logos from your website. Then, use branded templates and brand kits to create endless visual brand content.
Visme Forms comes equipped with animated 3D characters that increase attention and engagement. Our case study showed that 70% to 210% more visitors started the form once displayed and were 27% more likely to complete it.
The 3D animated characters are fully customizable to match your brand’s style and color scheme. You can easily change their clothing elements, body style and animations.
On the right of the editor is the character settings bar. Within this toolbar, there are two tabs, Animation and Character. In the Character tab, select Sleek or Cool Characters, then apply their unique characteristics. Name your avatar style and save it for later use.
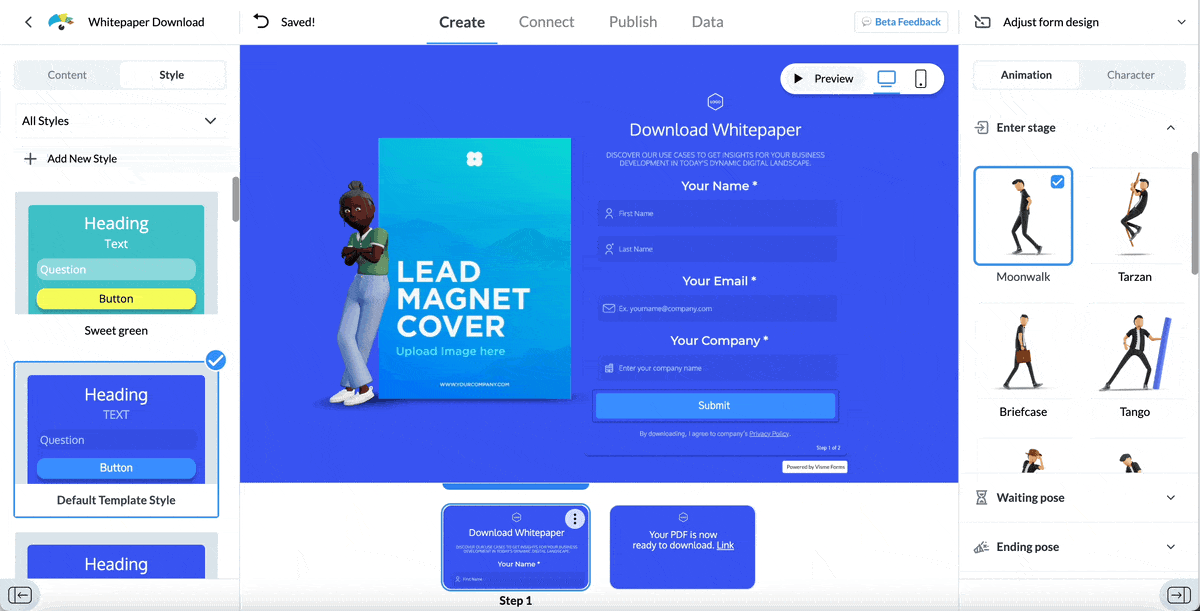
In the animation tab list are all the movements that your character can do while a respondent sees or fills in your form. These actions range from doing the moonwalk to being on a laptop or taking photographs. You can customize the entry, waiting and ending poses.
The inclusion of 3D characters is active by default. To create a traditional form without a character, toggle the option off in the top right corner. However, keep in mind that these characters have been proven to reduce form abandonment rates by up to 10%.

Once your form is ready, connect it to other business software in your tech stack through Visme's integrations. Automatically collect and synchronize data and contacts collected with your forms.
Choose from email marketing services, productivity platforms, and marketing automation tools like Hubspot, Mailchimp, Google Sheets, and Microsoft Excel.

Your form is now ready to collect valuable information. But before you can do that, you have to publish it.
Visme offers two options for publishing a finished form, sharing or embedding. Click on Publish at the top of the screen to enter the sharing dialog.
Publishing a Visme form automatically generates a live link you can share easily by copying and pasting. Give your form a title and a description so people know what it's about when they receive the link or come across it online.
Share your form via Facebook, LinkedIn, Slack and other social media channels. Likewise, generate a QR code to insert in any visual content type.
Last but not least, change your form thumbnail to ensure that your audience sees an attractive custom graphic. If you don’t have one, choose from one of our many default options.
As for embedding options, your first step towards grabbing an embed code is to choose how you want to present the form on your site.
Your options are PopUp, Between Content and Sidebar. All three options are 100% responsive and will adjust to whichever screen they’re shown on. The code for Between Content and Sidebar is ready to go when you select it, but the PopUp form has a few more options.

Choose to show the PopUp after page load or a set time. Better yet, use the SEO-friendly settings. Select to show the form after user interaction, after the viewer scrolls past a percentage of the page or when the viewer attempts to leave the page.
After sharing or embedding your form, you can track and check the form stats and responses in the analytics dashboard. You can find it under the Data tab on the top menu bar.

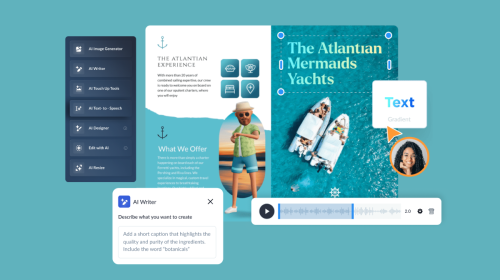
In addition to creating forms, Visme provides an extensive library of templates for creating lead magnets, ebooks whitepapers and other types of visual content.
Here’s what one of our users has to say about our visual content tool:
"Visme is an excellent tool for creating engaging visuals quickly and easily. As a businessperson, marketer, and educator, I appreciate the ability to create visuals that reflect my brand and message."
Arun G. | Graphics Designer
Stop wasting time figuring out the code to make your forms responsive. Start creating them faster with Visme Forms, the no-code form builder that instantly makes your forms responsive.
Allocate the resources and time you save from form creation to boost client engagement or grow lead generation efforts. Feel confident that your Visme-made forms are filled in effortlessly, regardless of device and screen.
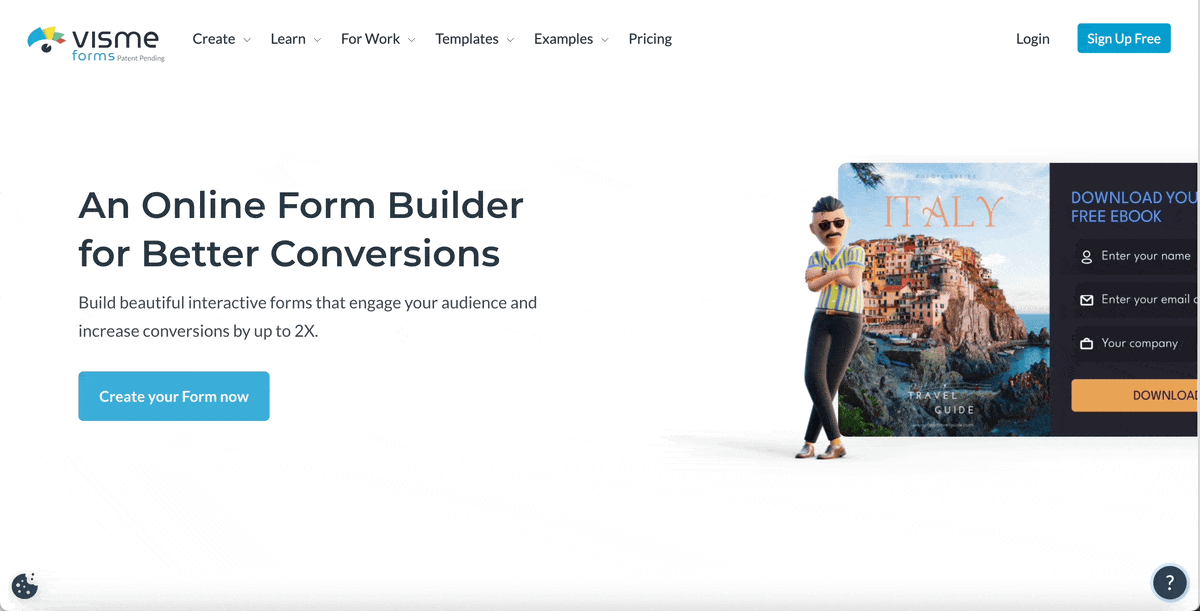
Visme’s free online form builder has everything you need to level up your data collection strategy. With Visme Forms, you can offer free lead magnets, grow your client base, and collect feedback from existing customers.
The best part? You’ll also get access to Visme’s full suite of visual design tools for creating lead magnets, gated content and other content type for effective lead generation.
Sign up to create responsive forms that attract high quality and grow your revenue fast.
Improve your data collection from emails, leads, to surveys and more, by using beautifully designed forms that convert up 2X better.
Signup Free